Edit: https://github.com/io7m/com.io7m.visual.comfyui.wideoutpaint
One of the acknowledged limitations with
Stable Diffusion
is that the underlying models used for image generation have a definite
preferred size of images. For example, the Stable Diffusion 1.5 model prefers
to generate images that are 512x512 pixels in size. SDXL, on the other hand,
prefers to generate images that are 1024x1024 pixels in size. Models will
typically also allow for some factors of the width or height values to be
used, as long as the product of the dimensions equals the same number of
resulting pixels as the "native" image size. For example, there's a list of
"permitted" dimensions that will work for SDXL: 1024x1024, 1152x896,
1216x832, and so on. The products of each of these pairs of dimensions always
equals 1048576.
This is all fine, except that often we want to generate images larger than the native size. There are methods such as model-based upscaling (Real-ESRGAN and SwinIR being the current favourites), but these don't really result in more detail being created in the image, they more or less just sharpen lines and give definition to forms.
It would obviously be preferable if we could just ask Stable Diffusion to generate larger images in the first place. Unfortunately, if we ask any of the models to generate images larger than their native image size, the results are often problematic, to say the least. Here's a prompt:
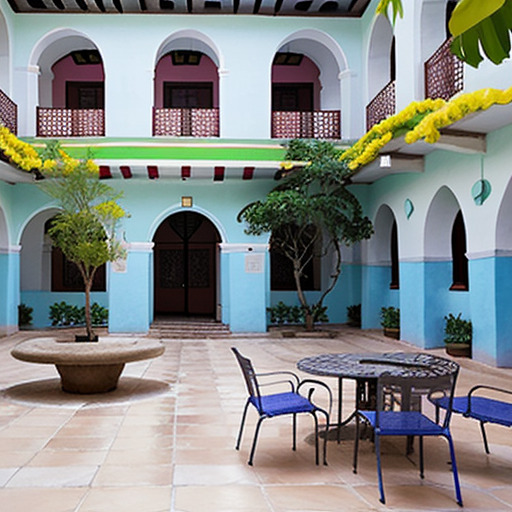
high tech office courtyard, spring, mexico, sharp focus, fine detail
From Stable Diffusion 1.5 using the
Realistic Vision
checkpoint, this yields the following image at 512x512 resolution:
That's fine. There's nothing really wrong with it. But what happens if we
want the same image but at 1536x512 instead? Here's the exact same sampling
settings and prompt, but with the image size set to 1536x512:
It's clearly not just the same image but wider. It's an entirely different location. Worse, specifying large initial image sizes like this can lead to subject duplication depending on the prompt. Here's another prompt:
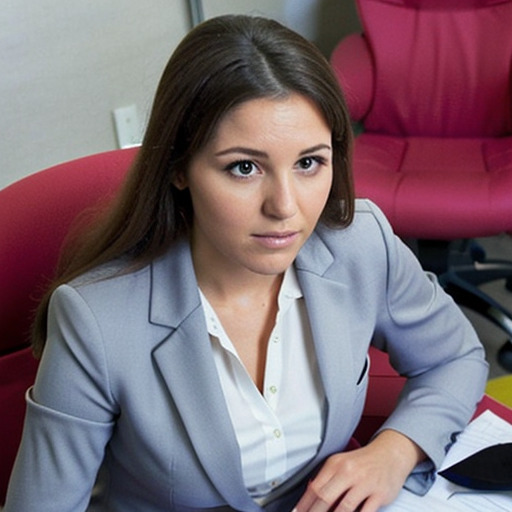
woman sitting in office, spain, business suit, sharp focus, fine detail
Now here's the exact same prompt and sampling setup, but at 1536x512:
We get subject duplication.
Outpainting
It turns out that outpainting can be used quite successfully to generate images much larger than the native model image size, and can avoid problems such as subject duplication.
The process of outpainting is merely a special case of the process of inpainting. For inpainting, we mark a region of an image with a mask and instruct Stable Diffusion to regenerate the contents of that region without affecting anything outside the region. For outpainting, we simply pad the edges of an existing image to make it larger, and mark those padded regions with a mask for inpainting.
The basic approach is to select a desired output size such that the dimensions
are a multiple of the native image dimension size for the model being used.
For example, I'll use 1536x512: Three times the width of the Stable Diffusion
1.5 native size.
The workflow is as follows:
-
Generate a
512x512starting imageC. This is the "center" image.
-
Pad
Crightwards by512pixels, yielding a padded imageD.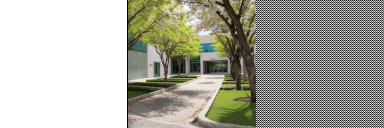
-
Feed
Dinto an inpainting sampling stage. This will fill in the padded area using contextual information fromC, without rewriting any of the original image content fromC. This will yield an imageE.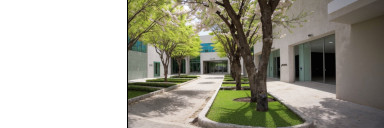
-
Pad
Eleftwards by512pixels, yielding a padded imageF.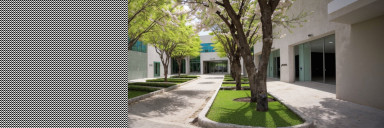
-
Feed
Finto an inpainting sampling stage. This will fill in the padded area using contextual information fromE, without rewriting any of the original image content fromE. This will yield an imageG.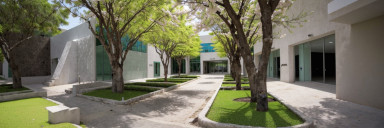
-
Optionally, run
Gthrough another sampling step set to resample the entire image at a low denoising value. This can help bring out fine details, and can correct any visible seams between image regions that might have been created by the above steps.
By breaking the generation of the full size image into separate steps, we can apply different prompts to different sections of the image and effectively avoid even the possibility of subject duplication. For example, let's try this prompt again:
woman sitting in office, spain, business suit, sharp focus, fine detail
We'll use this prompt for the center image, but we'll adjust the prompt for the left and right images:
office, spain, sharp focus, fine detail
We magically obtain the following image:
ComfyUI
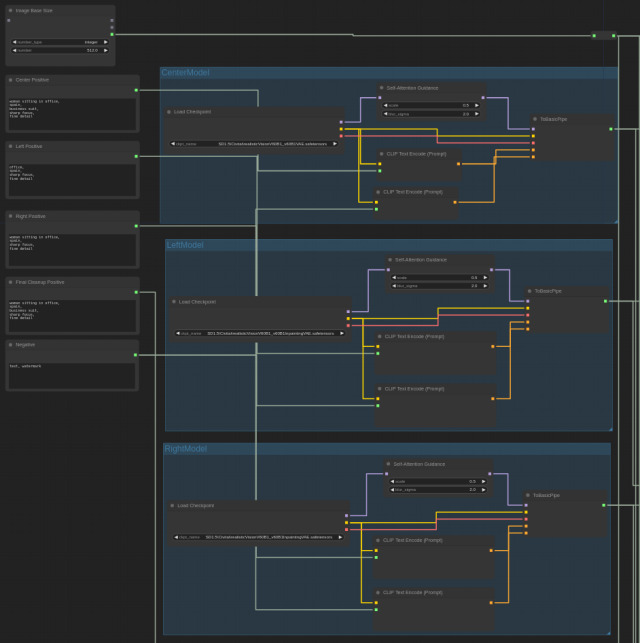
I've included a ComfyUI workflow that implements the above steps. Execution should be assumed to proceed downwards and rightwards. Execution starts at the top left.
The initial groups of nodes at the top left allow for specifying a base image size, prompts for each image region, and the checkpoints used for image generation. Note that the checkpoint for the center image must be a non-inpainting model, whilst the left and right image checkpoints must be inpainting models. ComfyUI will fail with a nonsensical error at generation time if the wrong kinds of checkpoints are used.
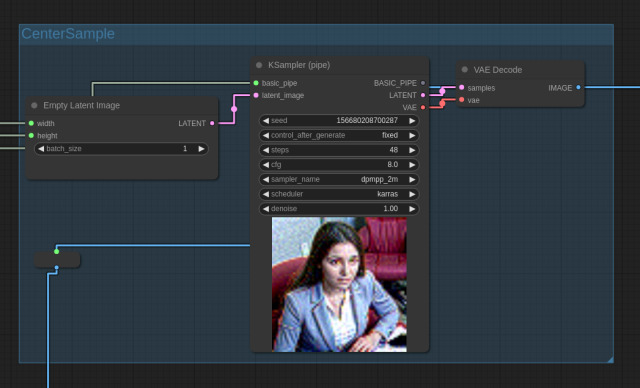
Execution proceeds to the CenterSample stage which, unsurprisingly, generates
the center image:
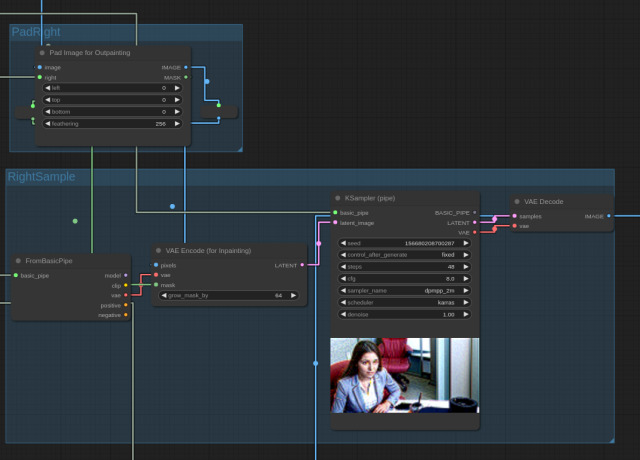
Execution then proceeds to the PadRight and RightSample stages, which
pad the image rightwards and then produce the rightmost image, respectively:
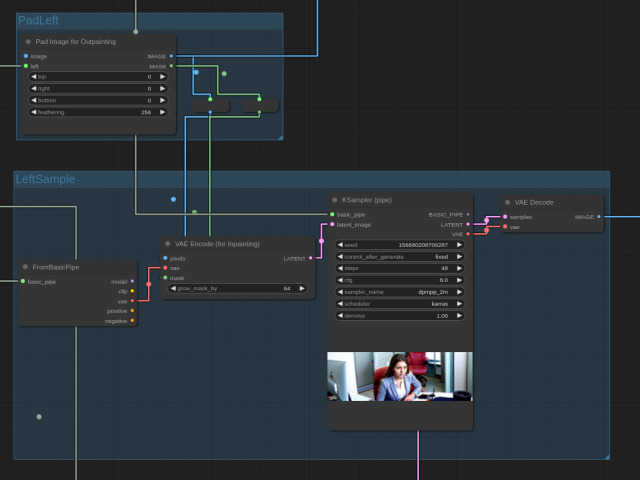
Execution then proceeds to the PadLeft and LeftSample stages, which
pad the image leftwards and then produce the leftmost image, respectively:
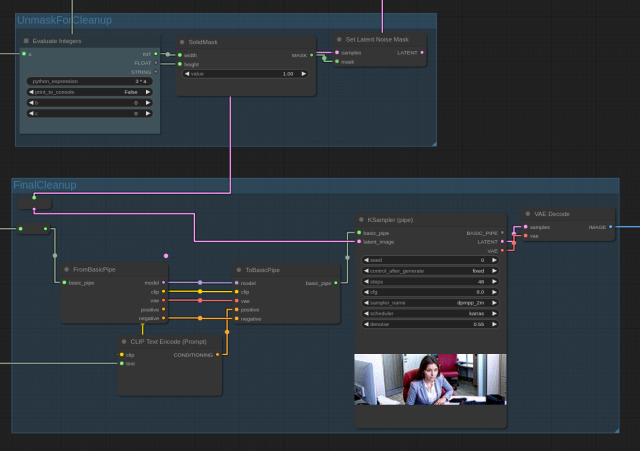
Execution then proceeds to a FinalCleanup stage that runs a ~50% denoising
pass over the entire image using a non-inpainting checkpoint. As mentioned,
this can fine-tune details in the image, and eliminate any potential visual
seams. Note that we must use a Set Latent Noise Mask node; the latent image
will be arriving from the previous LeftSample stage with a mask that
restricts denoising to the region covered by the leftmost image. If we want
to denoise the entire image, we must reset this mask to one that covers the
entire image.
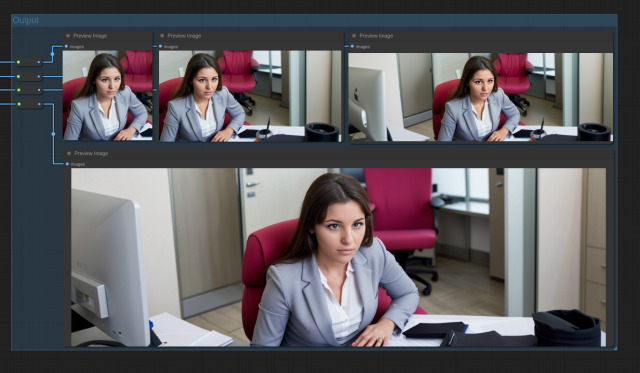
The output stage displays the preview images for each step of the process:

