I'm relatively new to 3D printing, so I don't have an intuitive understanding of what to expect from various materials. I'm going to start documenting the various materials each time I try a new one. Unfortunately, my testing methodology won't be all that rigorous: I'm not an aerospace engineer, noone depends on my parts working under extreme conditions, and if you want rigorous testing you should probably be looking at Stefan from CNCKitchen's excellent work. In any case, I'll be keeping written records of what I did, and I'll be continually publishing the slicer profiles I use for printing on the Prusa i3 with each material.
I print almost entirely functional prints, so I care far more about the durability and dimensional accuracy of prints than I do about pretty looking surfaces and fine detail. I don't particularly care about determining exact MPa values for materials, I really just want to know if I'm likely to be able to break an object in normal usage. I also care about print times, and typically print at 0.3mm layer heights. I'm looking at transitioning to a Mosquito hotend with a larger nozzle so that I can blast out plastic at a higher rate, but currently I'm printing with the stock E3D v6 hotend and a 0.4mm nozzle. I've tried larger nozzles with this hotend, but have had issues with under-extrusion at higher print speeds likely due to exceeding the maximum volumetric speed for the hotend.
My intensely informal test approach is as follows:
First, I print a temperature tower to determine the usable temperature range for printing for the material.
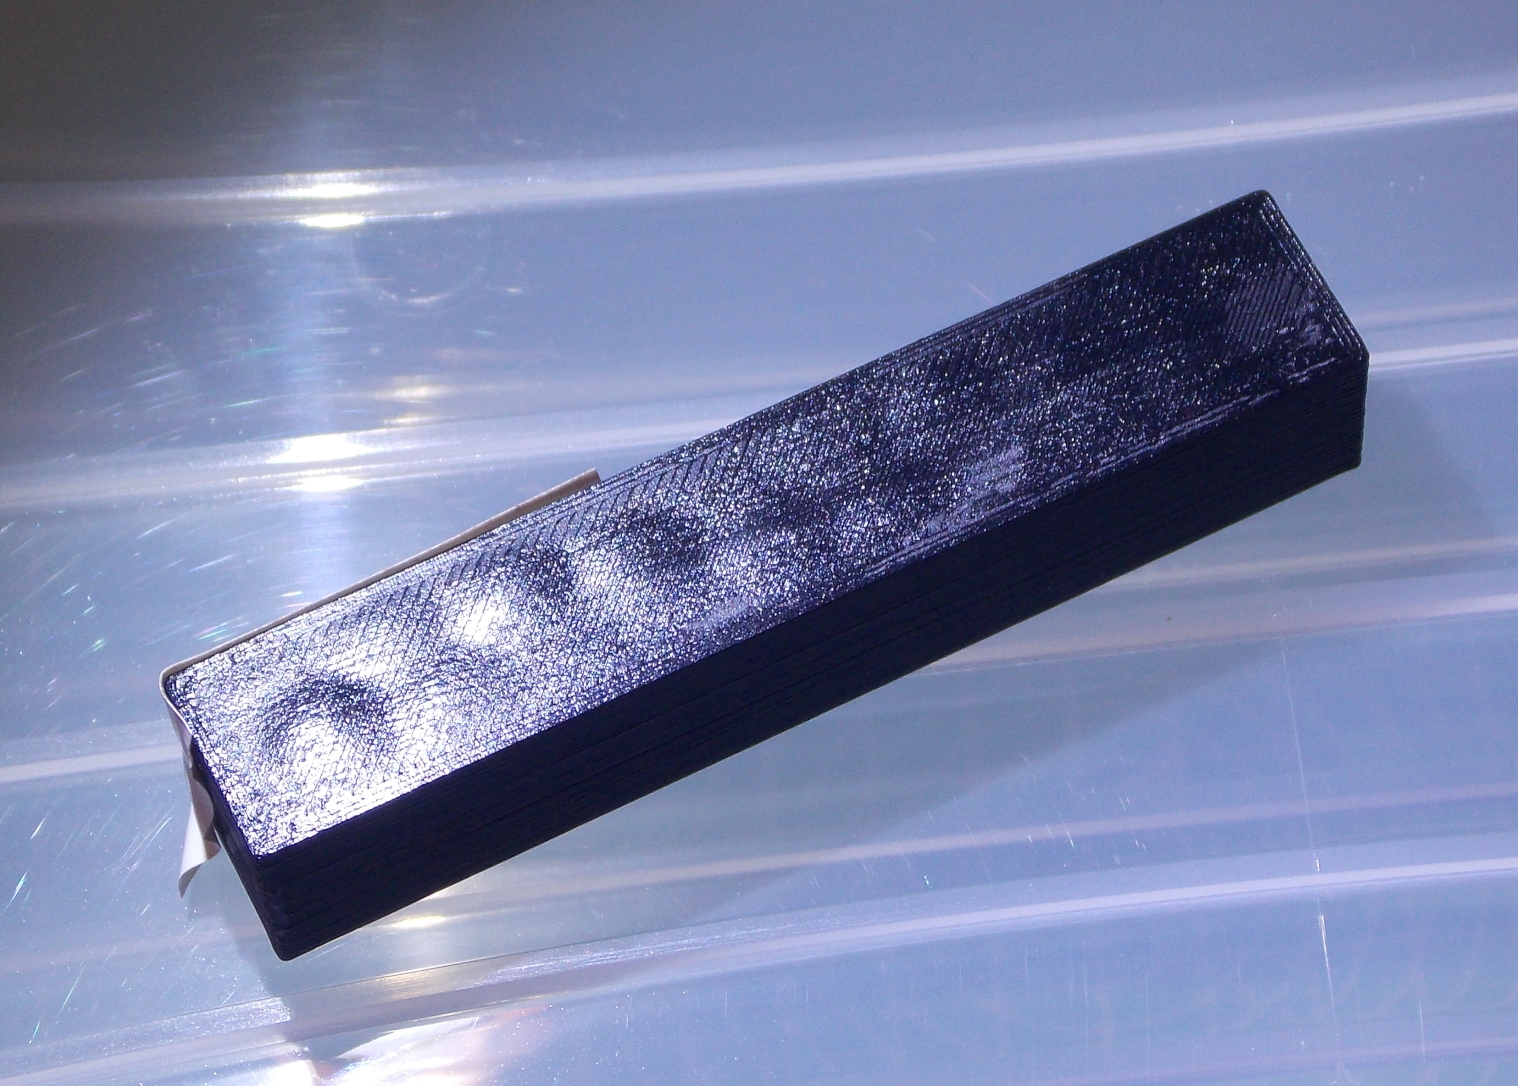
Assuming that the temperature tower indicates that the material can be printed at all, a simple 80x15x15mm test rod is printed for durability tests. The test rod is printed with 15% cubic infill, at 0.3mm layer height, using whatever settings are recommended by the filament producer.
The test rod is checked for dimensional accuracy using digital calipers.
An attempt is made to crush the test rod by hand with pliers. The force is applied perpendicular to the plane of the print layers:
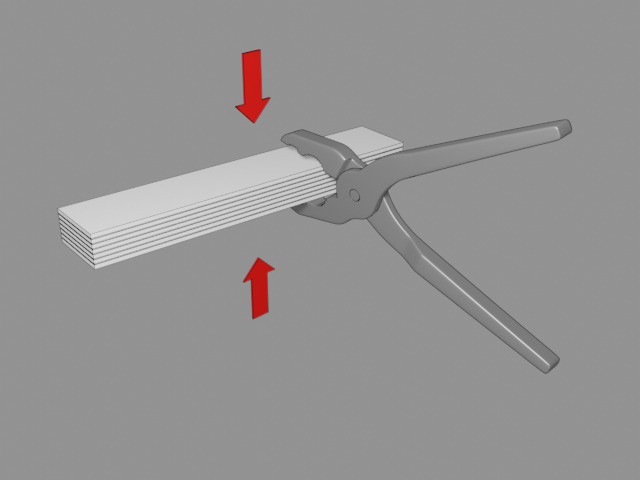
The purpose of this test is to determine if the actual material is "strong enough" with regards to withstanding crushing load.
Then, an attempt is made to crush the test rod by hand with pliers. The force is applied parallel to the plane of the print layers:
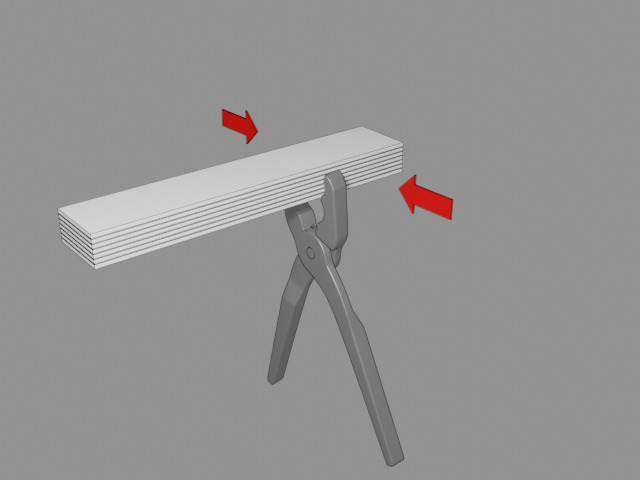
The purpose of this test is to determine if the material's layer adhesion is "strong enough".
Assuming that the test rod survives the pliers, I then try throwing the rod from head height as hard as possible onto a concrete floor a few times. This gives a rough indication as to whether or not the material and print are impact resistant in any sense.
As a reference, I printed a test rod using Prusa PLA. The rod was dimensionally accurate to within the accuracy of the nozzle (0.4mm), and survived the pliers test in both directions. The material did dent and crack slightly when thrown onto concrete, and this is supposedly to be expected for PLA (strong but brittle). Generally, if I'm going to be printing with a trickier material such as PETG or ABS, I expect to end up with a tougher result than this reference rod - otherwise what's the point?
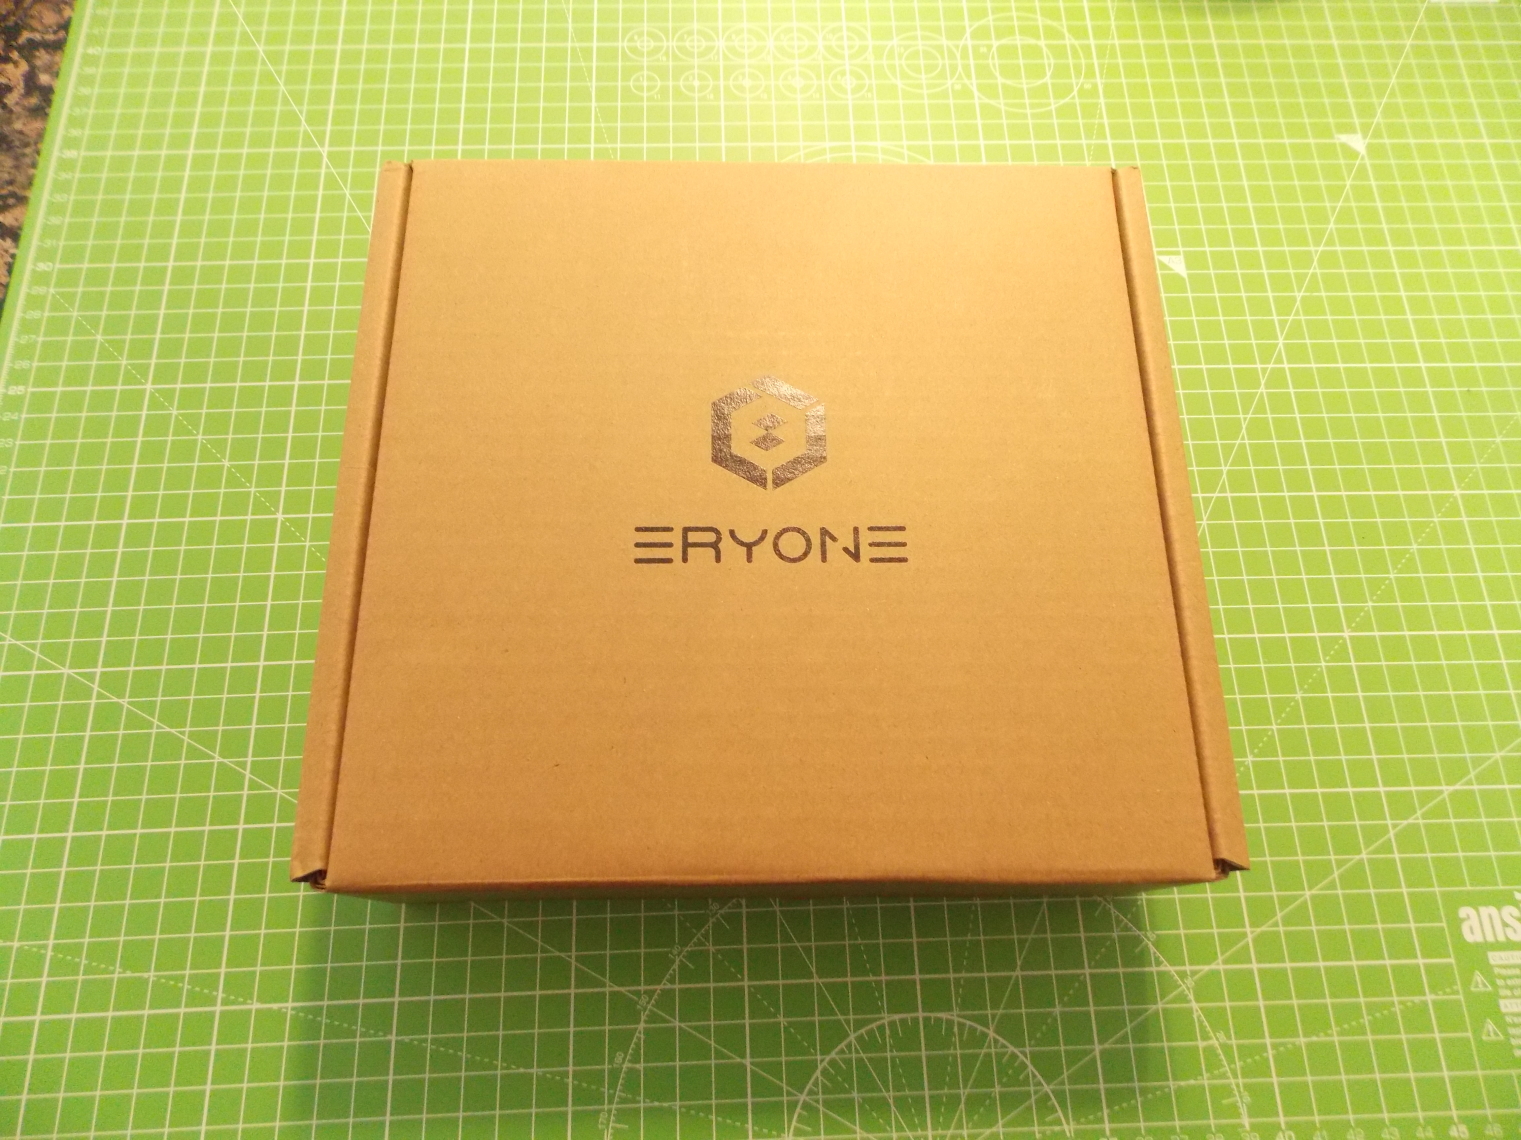
First on the list: I recently ordered and received some Eryone PETG.
The box was good quality rigid cardboard, and the filament spool was vacuum-sealed in a bag with silica gel. The filament winding was precise, and tangle-free.
The spool after a dozen or so prints:

The temperature tower came out well. The bottom floor of the tower is 220°C and proceeds by 5°C per floor to reach 260°C at the top. Stringing wasn't visible until 230°C and still wasn't unusably severe at 260°C. There was a single bridging failure at 240°C, and a slightly more severe bridging failure at 260°C. The camera really brings out the printing flaws; they're not nearly as visible to the naked eye, and the finish is pretty uniformly glossy.

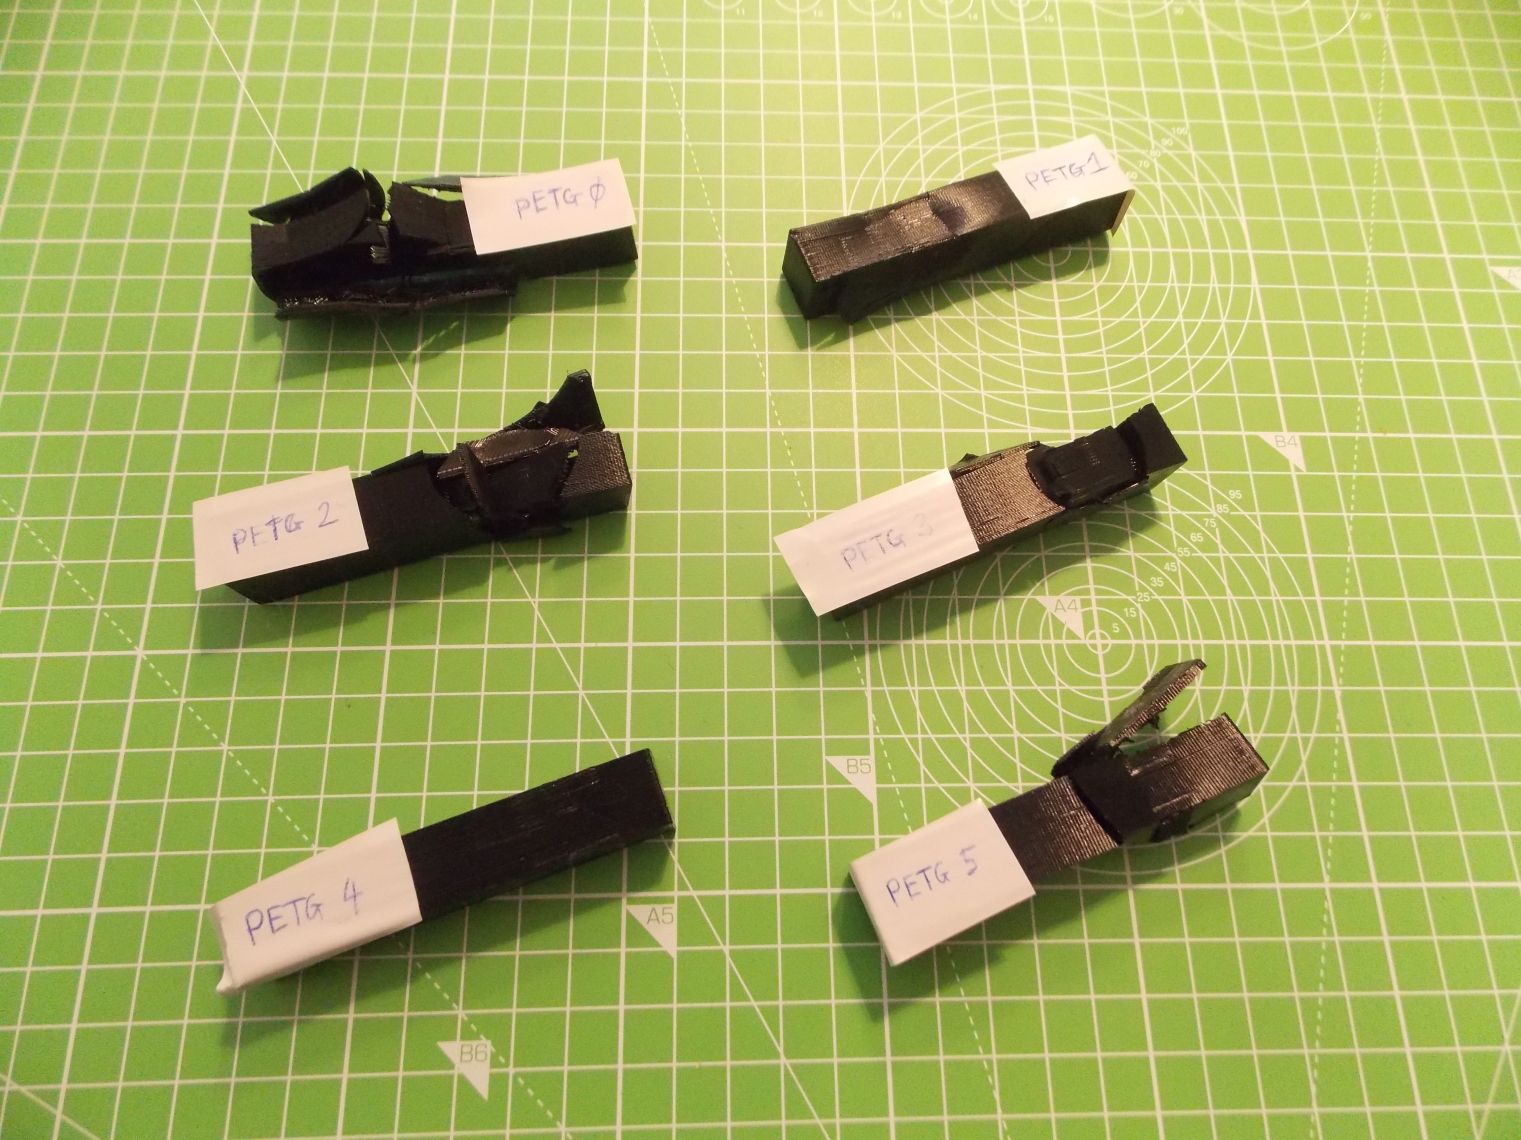
When it came to part strength, the material turned out to be fairly picky. I ended up having to print six different test rods to find a print profile that produced a strong part. I actually cracked the temperature tower at the start of the 245°C floor without intending to! The crack occurred mostly parallel to the layer lines, but crossed three or four layers in a step pattern.
After much trial and error, I ended up with the following settings:
Ambient temperature: 50°C
Nozzle type:         Brass 0.4mm
Layer height:        0.3mm
Print base:          Smooth PEI sheet with glue stick

Very slow print rate:
  bridge_speed = 25
  external_perimeter_speed = 25
  first_layer_speed = 20
  gap_fill_speed = 25
  infill_speed = 25
  max_print_speed = 25
  max_print_speed = 25
  max_volumetric_speed = 0
  perimeter_speed = 25
  small_perimeter_speed = 25
  solid_infill_speed = 25
  support_material_interface_speed = 100%
  support_material_speed = 25
  top_solid_infill_speed = 25
  travel_speed = 180

Infill overlap:       55%
Infill:               15% cubic
Extruder Temperature: 230°C first layer, 235°C rest
Bed Temperature:      85°C first layer, 90°C rest
Perimeters:           3
Fans:                 25%
I had trouble removing the first print from the PEI sheet, so moved to using a glue stick as a release agent for all subsequent prints. I'd strongly recommend using a glue stick for this material if you use a smooth PEI sheet and actually want to be able to remove your prints from the sheet afterwards!
I was able to crush all of the test rods using pliers except for PETG 4 which was produced using the above settings. For the PETG 4 rod, I could barely even produce a dent in the material! I've since printed other objects using the same settings but with fans entirely disabled with similar good results. It seems that this material has poor layer adhesion at low temperatures and/or with fans above 25%, and becomes pretty brittle.
Oddly, at 240°C, the material evidently started to bubble where it was in contact with the print bed:
The dimensional accuracy was fine. The test rod that wasn't destroyed measured
80.01mm × 14.99mm × 15.01mm, which is pretty close to perfect.
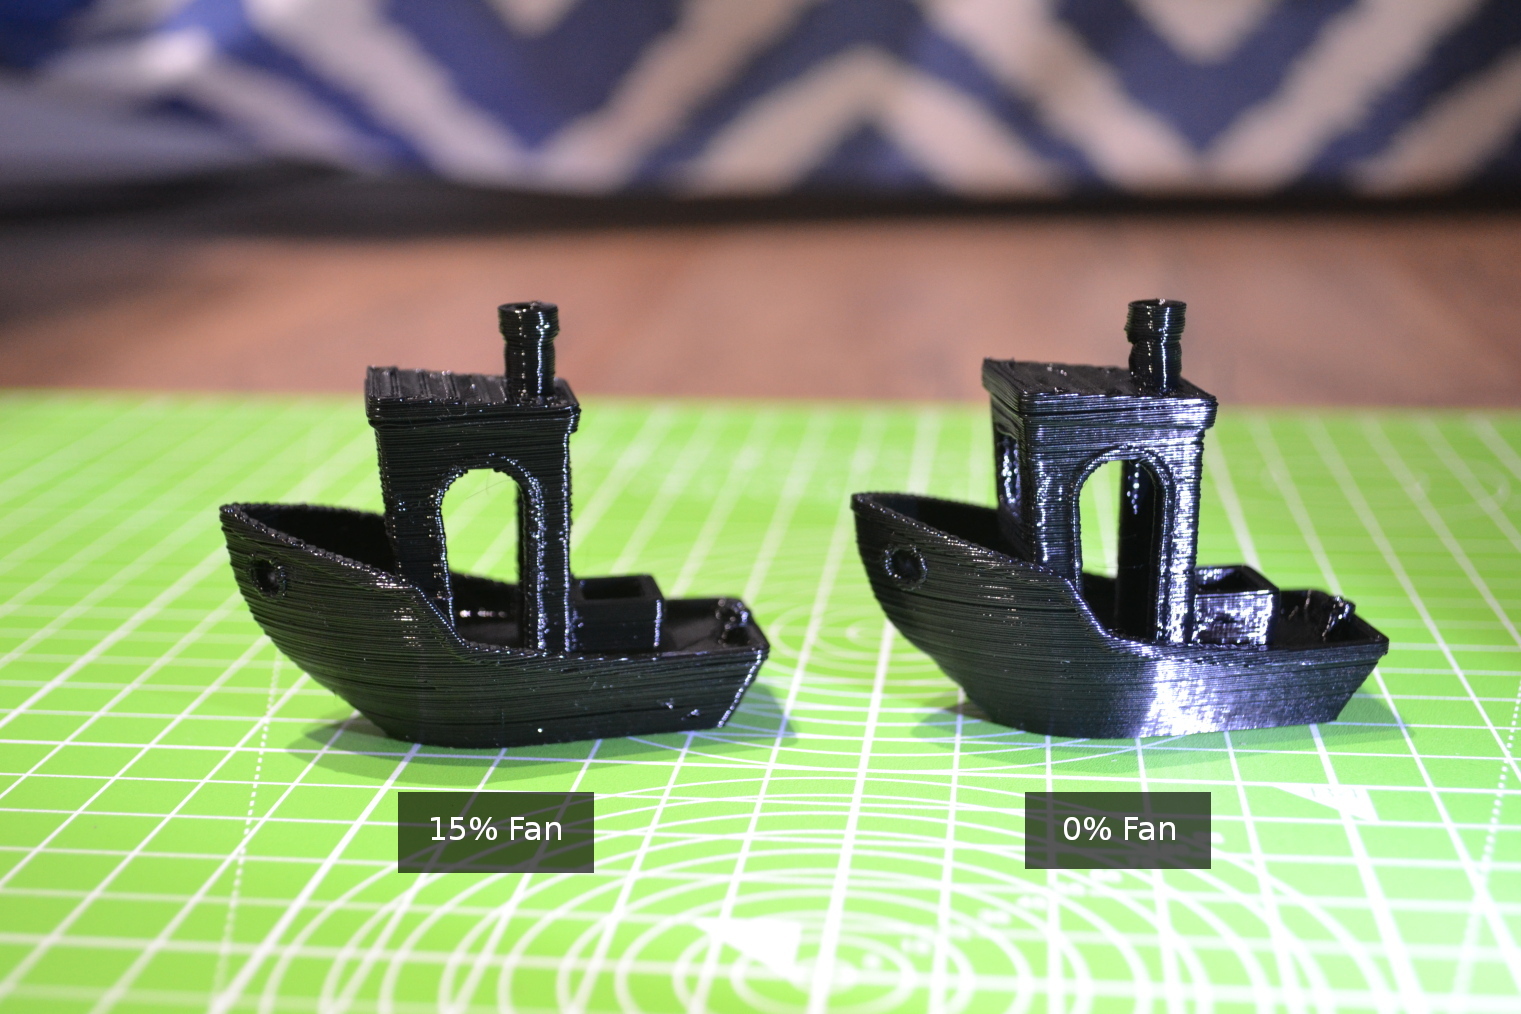
I printed two 3D benchy models at 0.3mm layer height, 40°C ambient temperature using the above settings, one with fans switched off, and one with fans fixed at 15% except for the first three layers. The one printed without fans looked a little deformed, with overhangs suffering somewhat, and overall looking a bit like someone had partially digested it. The one printed with fans had a more consistent shape, but suffered from layer adhesion issues.
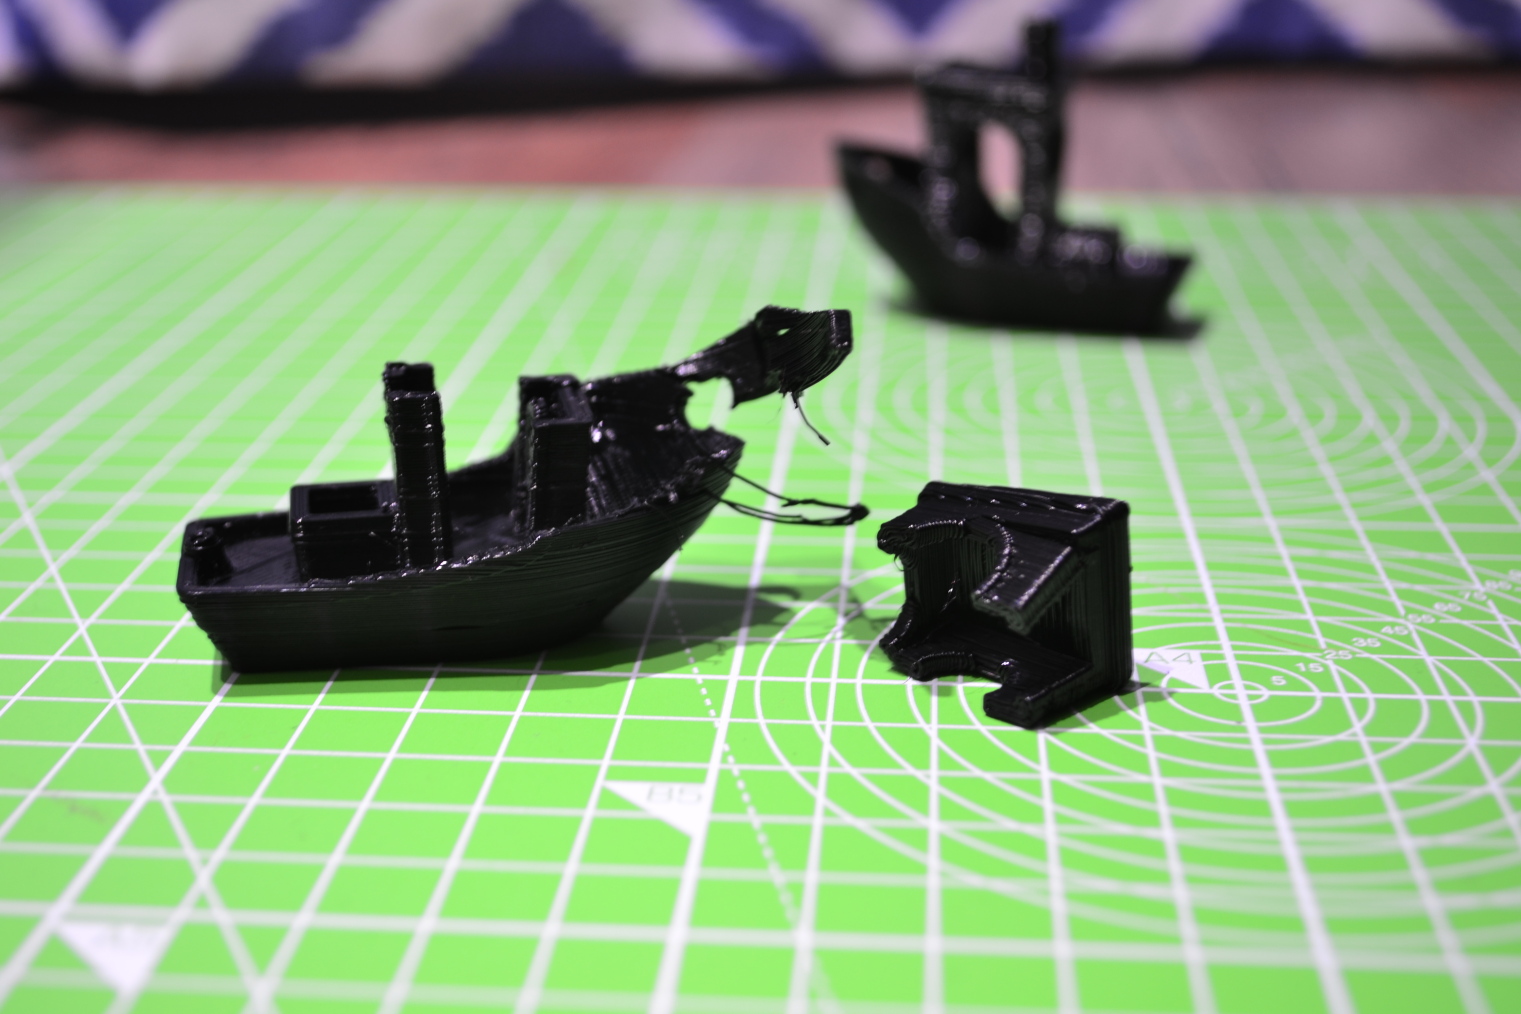
The layer adhesion issues on the model printed with fans were severe enough that I could rip the model apart with my bare hands:
As far as I can make out, this material likes to be printed hot and in a hot environment. Quite frankly, I can't make an objective judgement about the quality of this particular brand of filament because I don't have anything else to compare it to yet. I suspect, given the consistent printing environment, high quality printer, reliable ambient temperature, and sensible print settings, I should probably be getting better results than this.
Continued in Part 2...