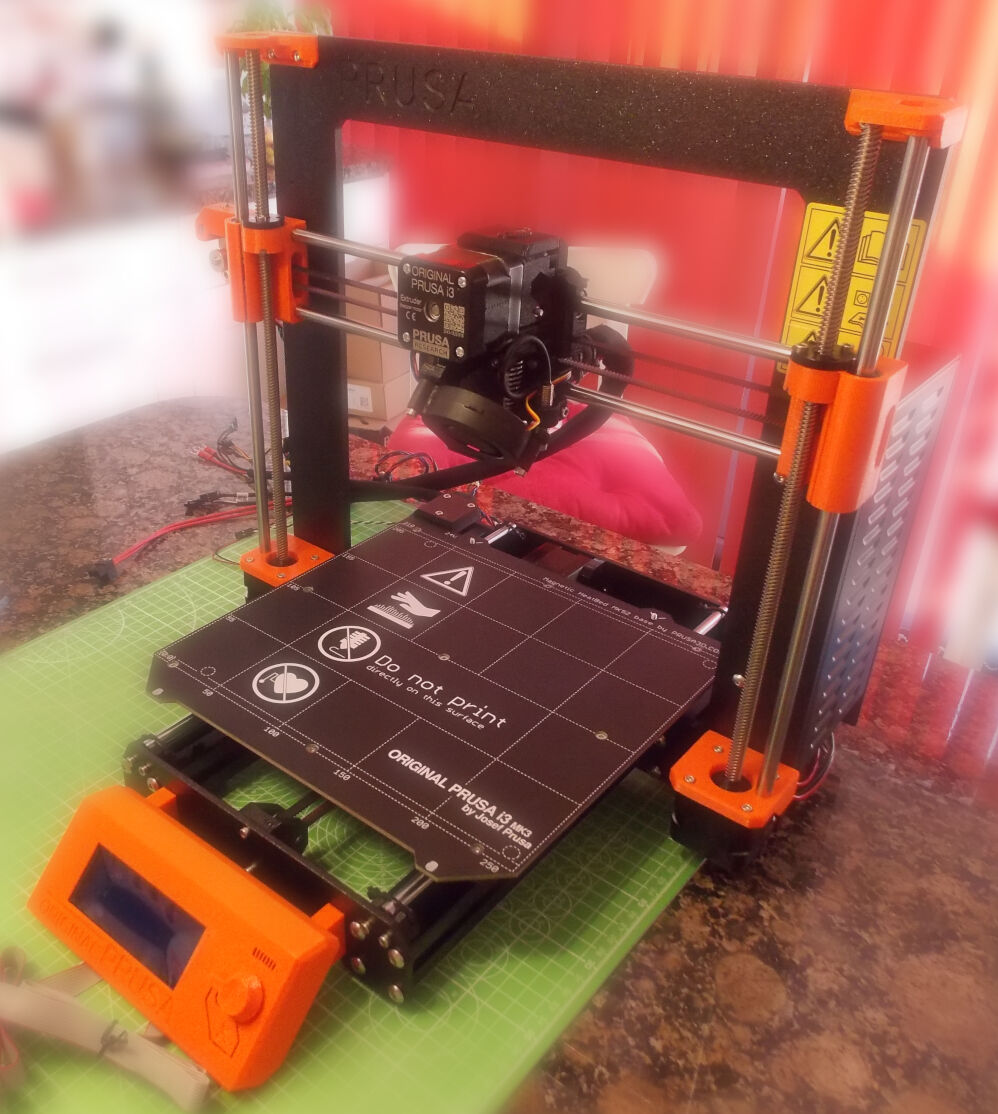
Recently decided to start learning about 3D printing. Ordered a Prusa i3 MK3S kit a few weeks ago, and it arrived a couple of days ago. The packaging and documentation was excellent, and the print results essentially flawless.

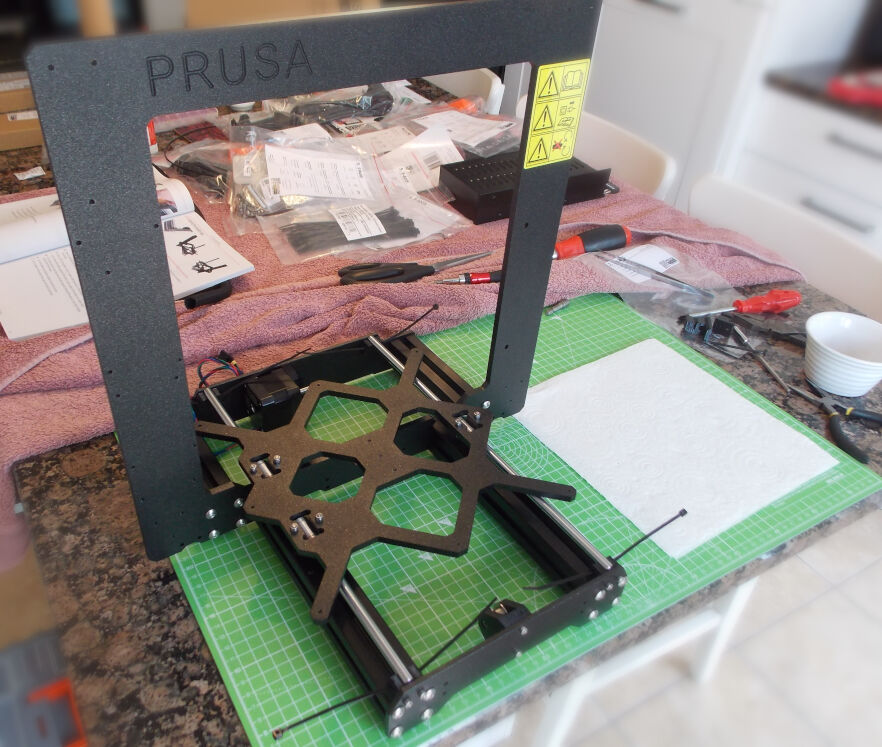
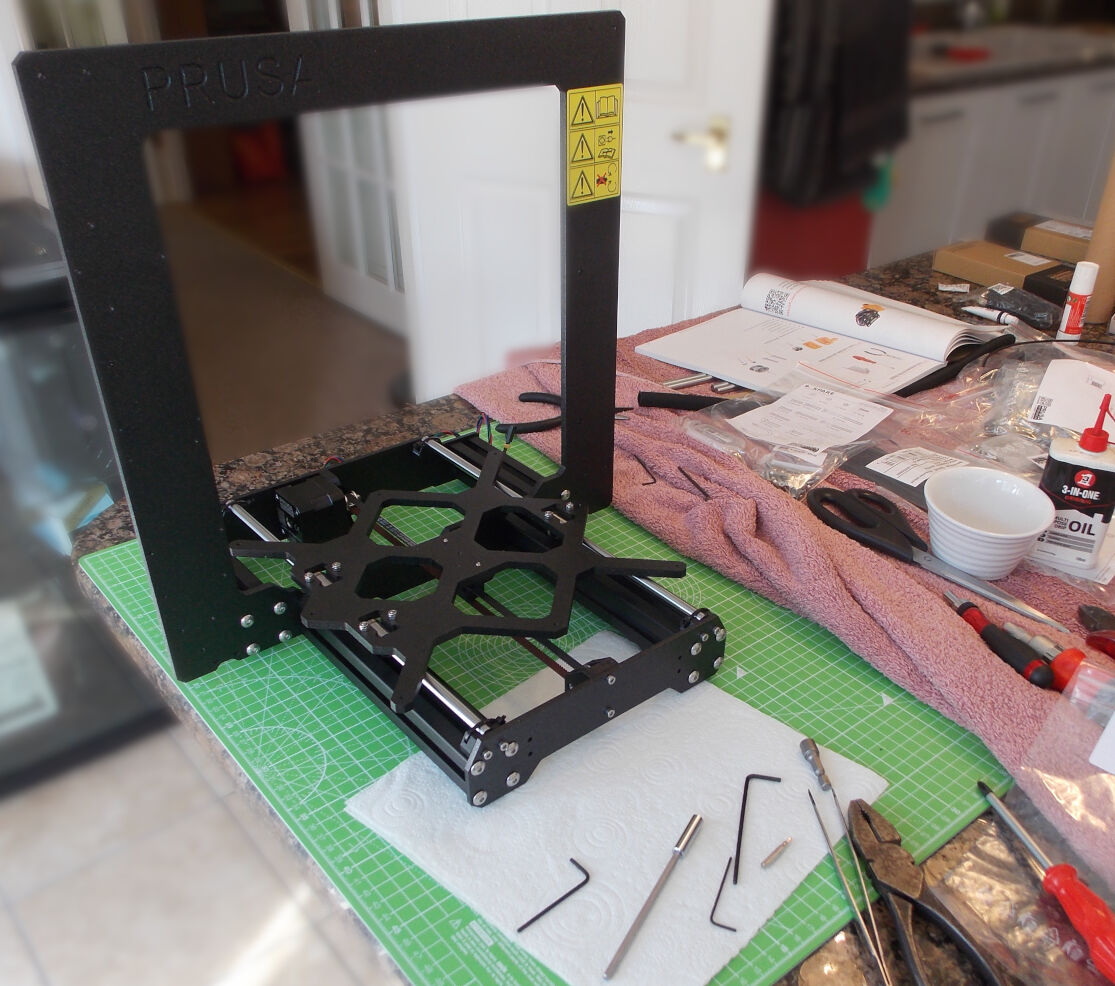
The first step was to assemble the X and Y axes. This basically consisted of bolting together aluminium frame pieces. Care had to be taken to ensure that everything was aligned correctly and that the frame didn't wobble when placed on a flat surface.

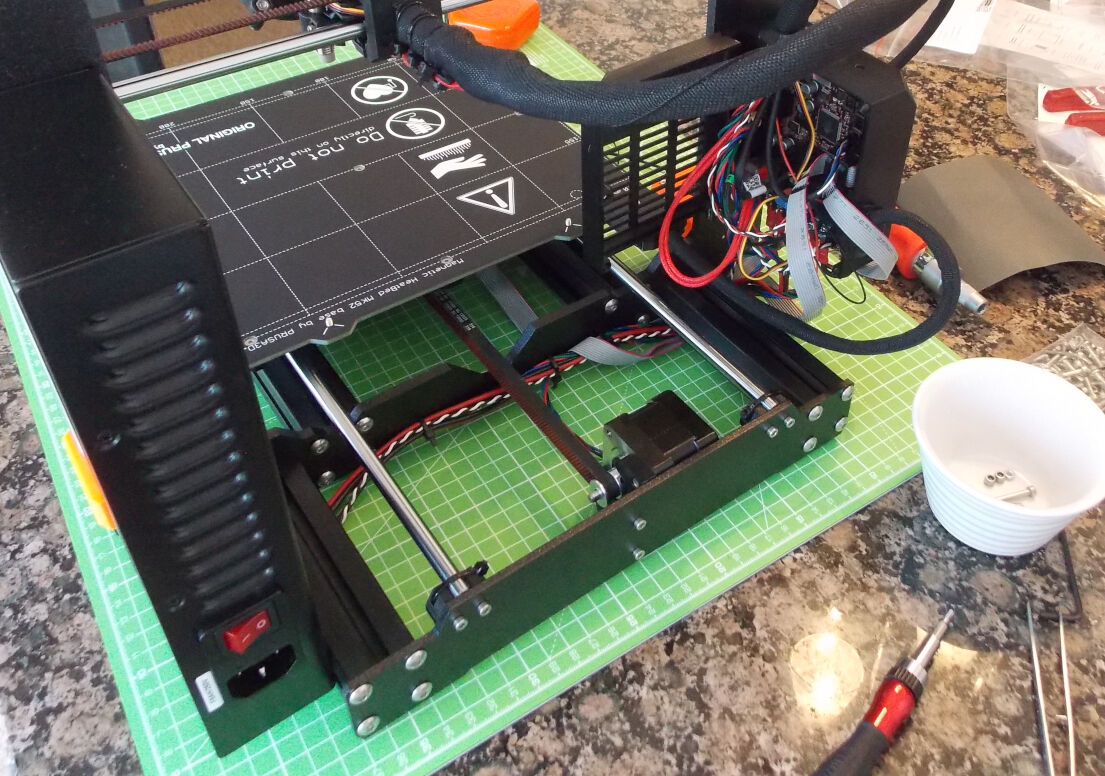
Next, the heated bed carriage had to be attached to rods:
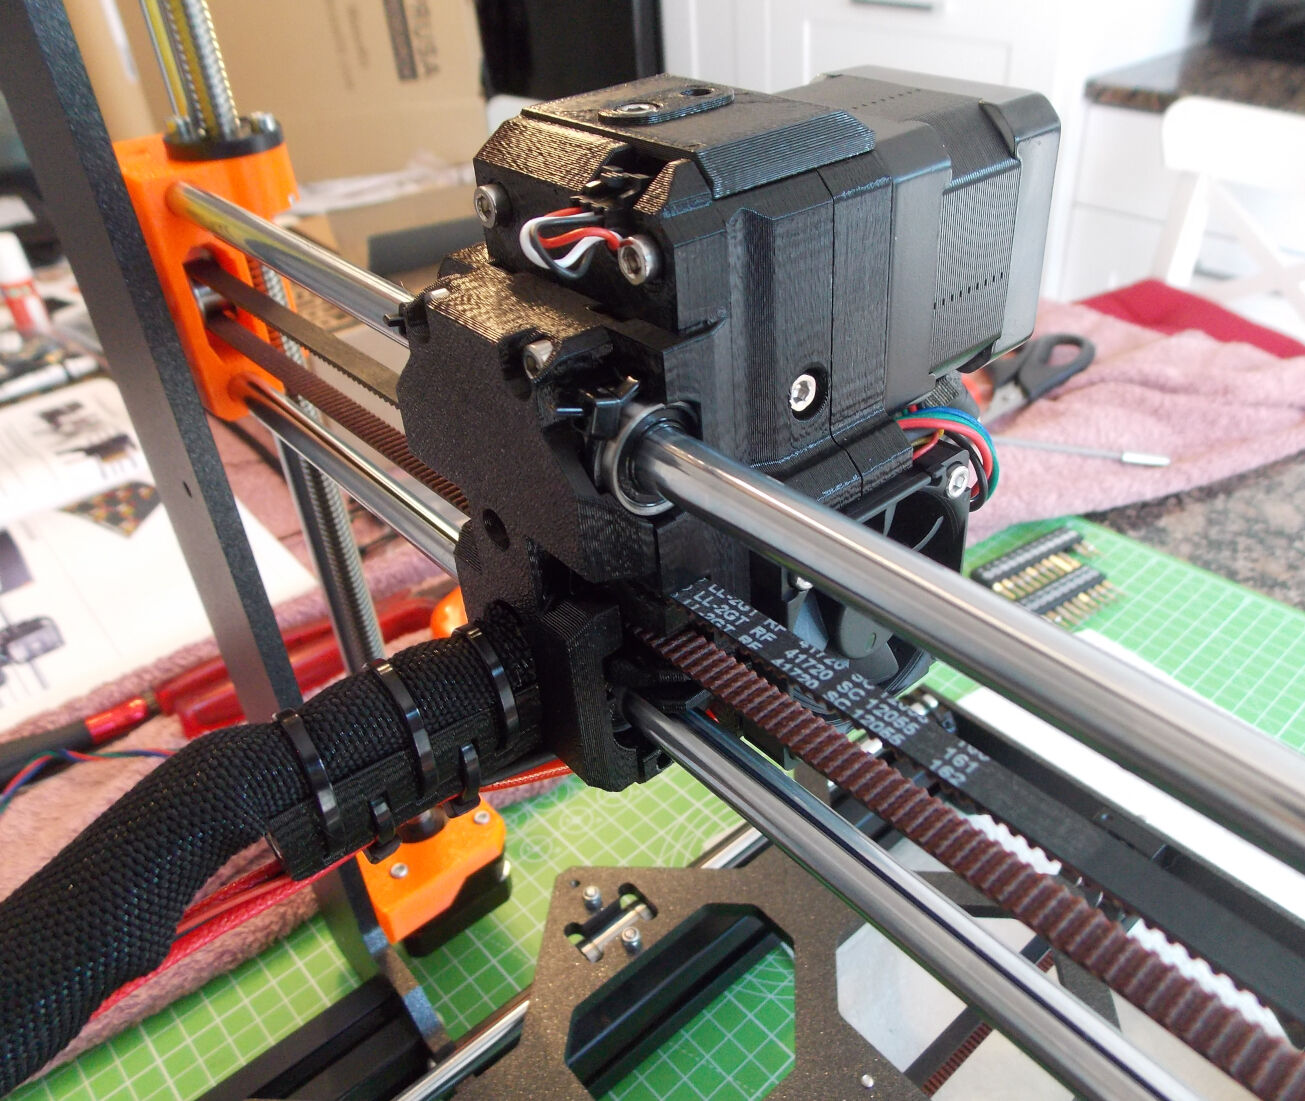
Next, the belt had to be connected to the motor that drives the heated bed carriage:
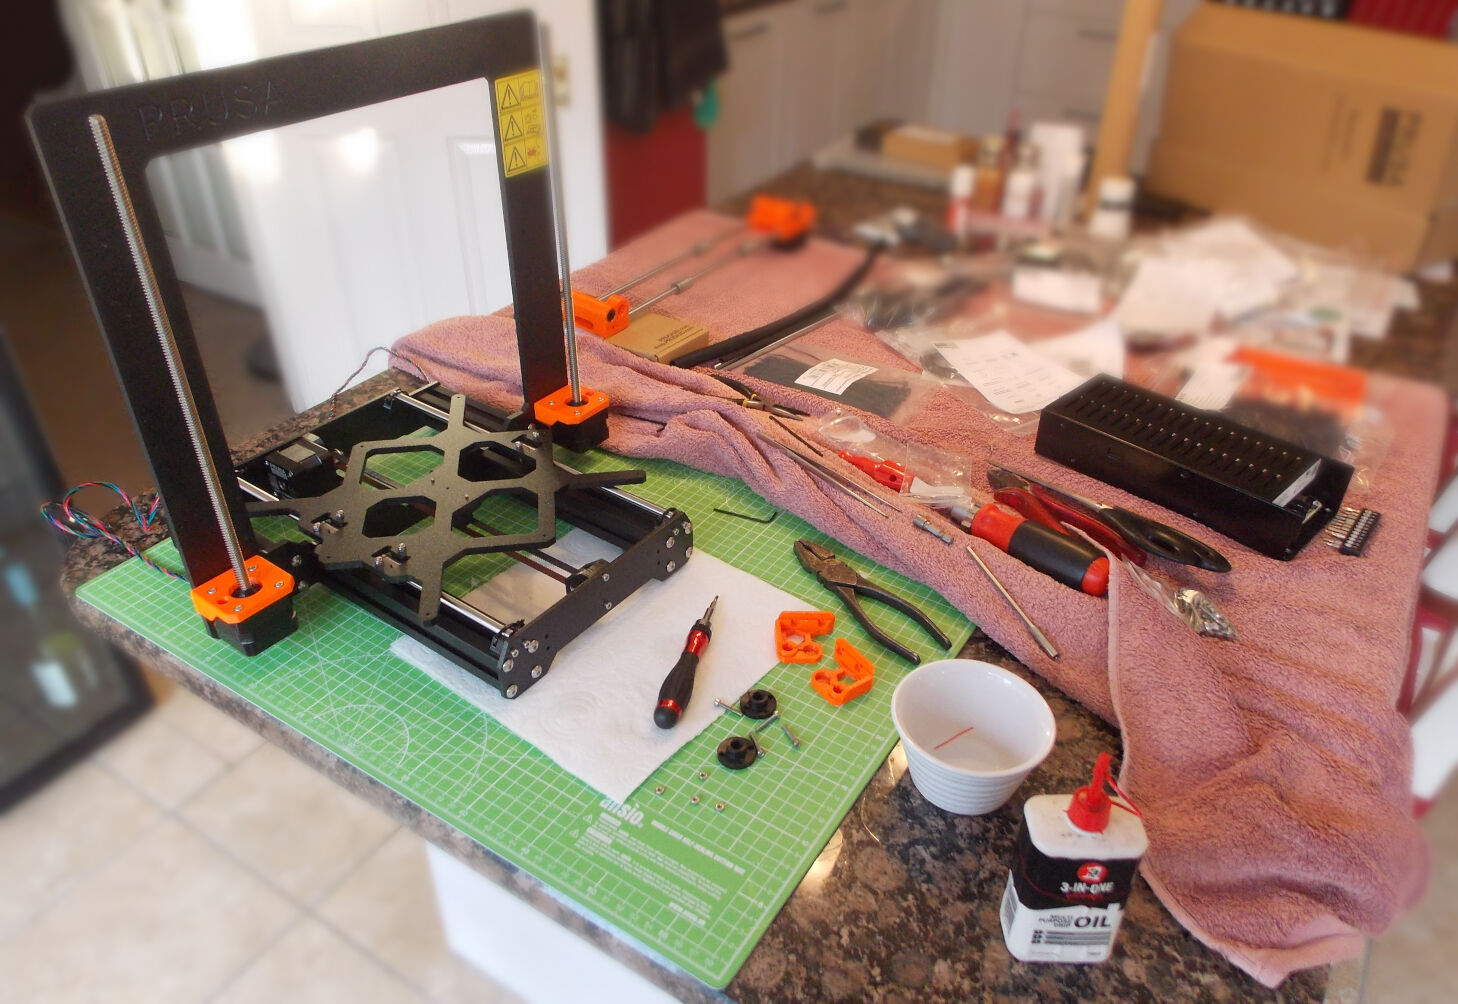
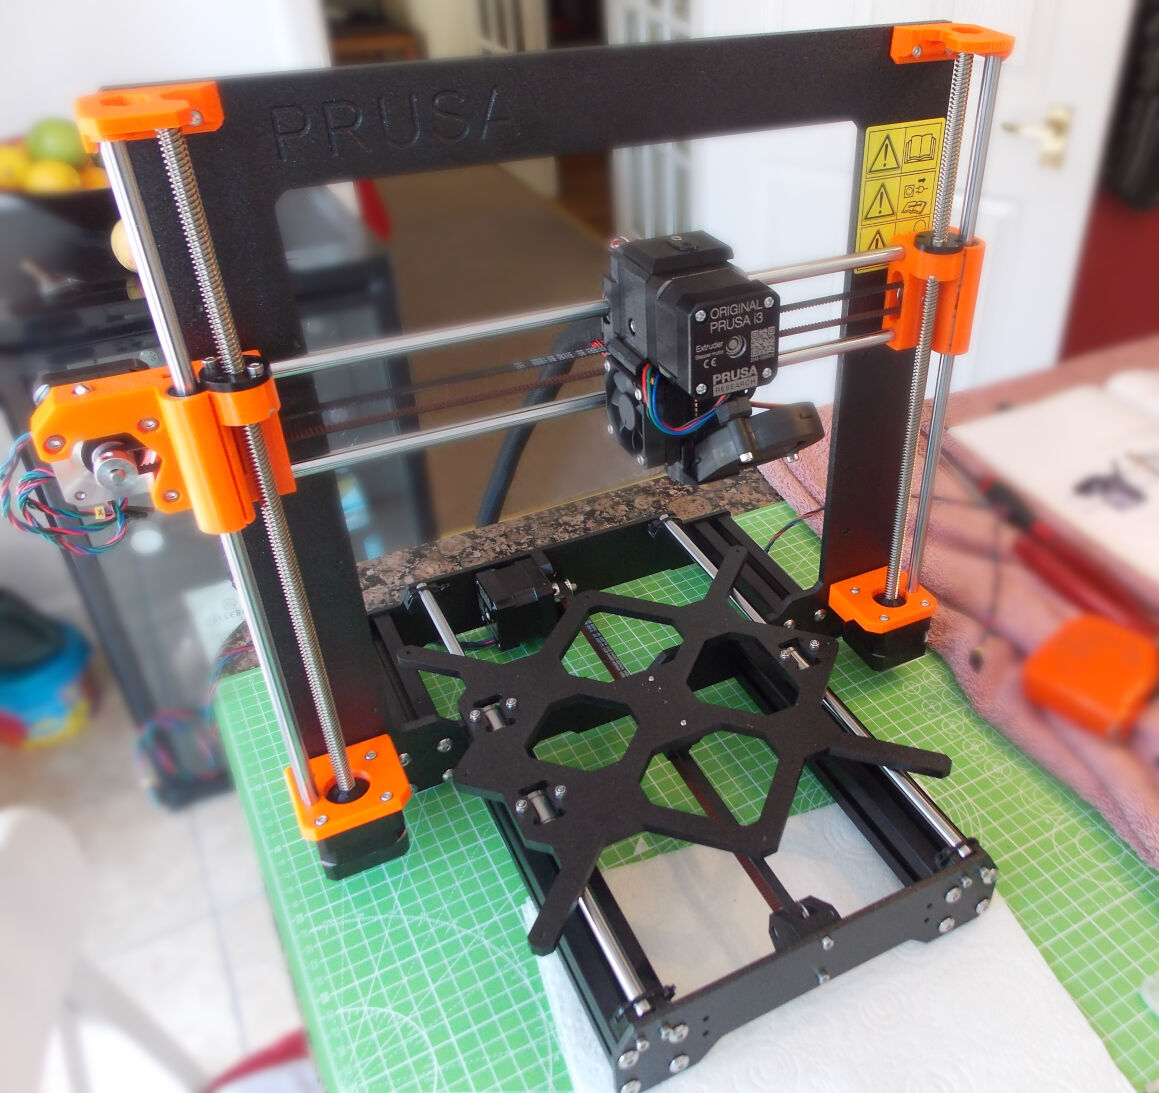
The Z axis motors were then connected to the frame along with the threaded rods that are used to move the extruder on the Z axis:
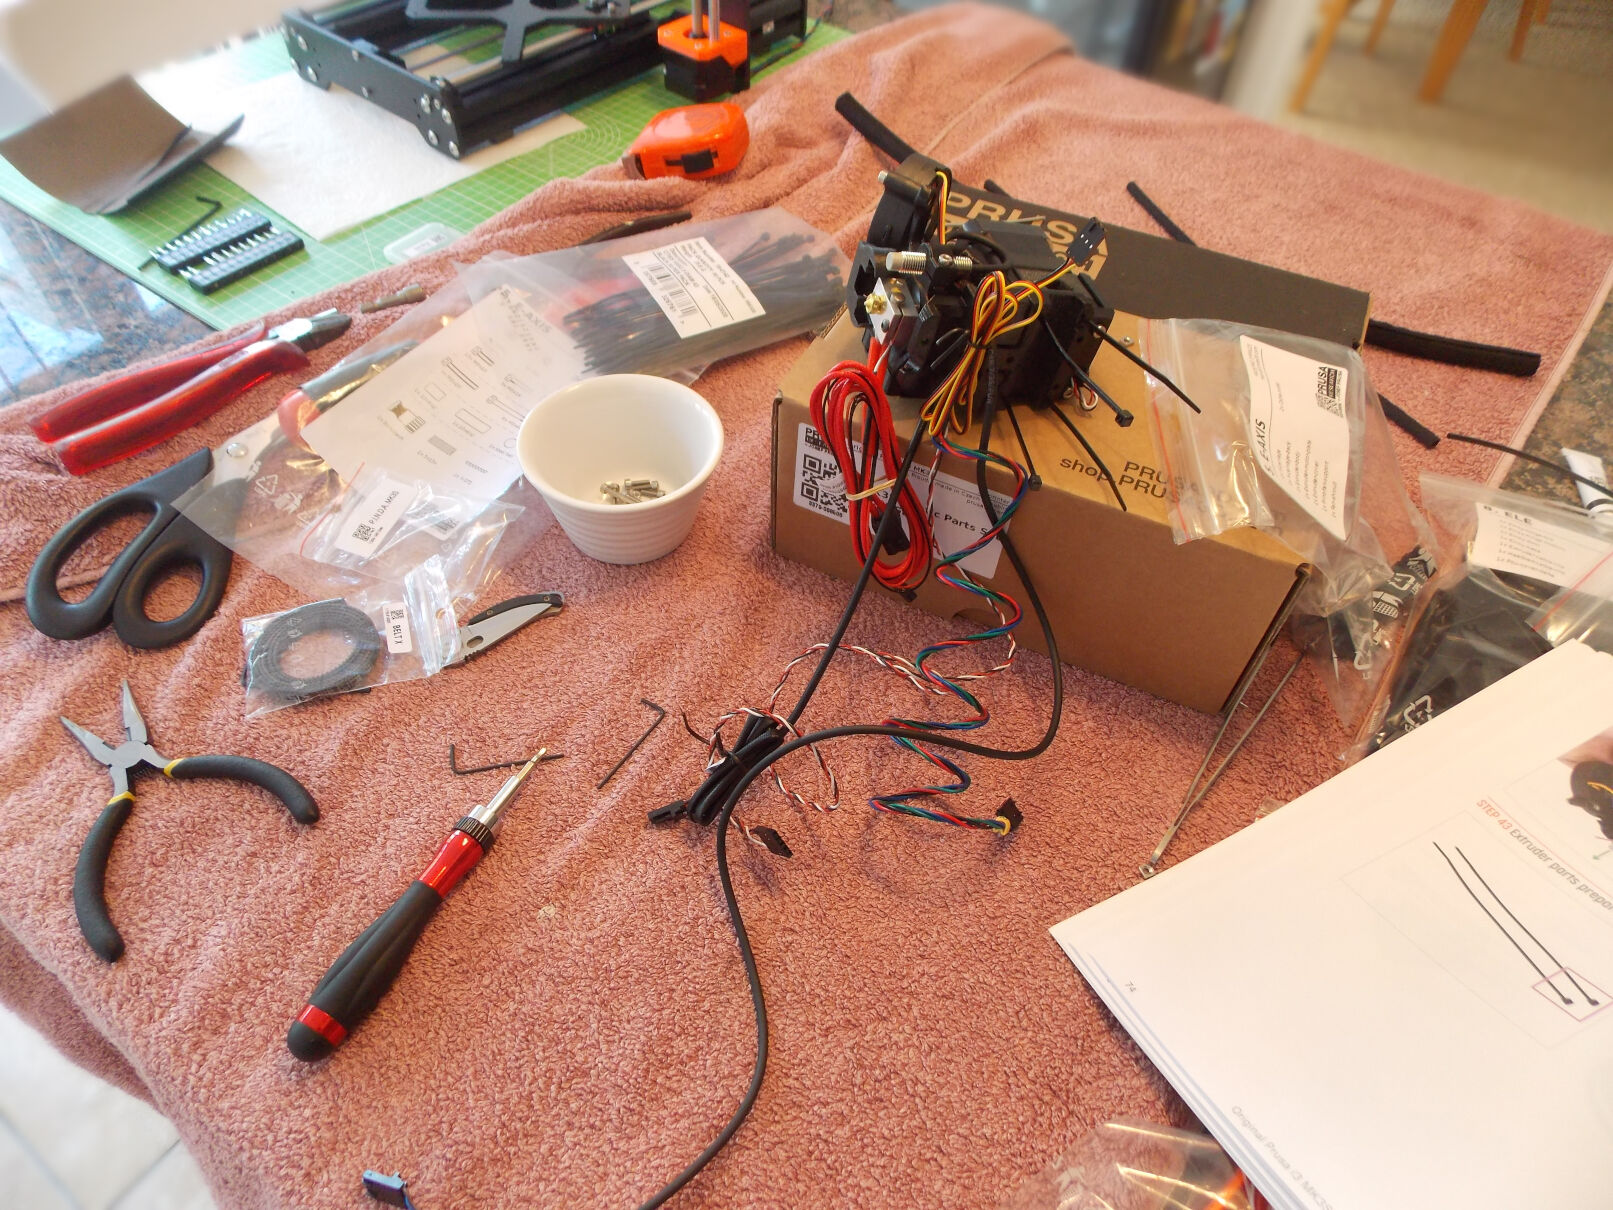
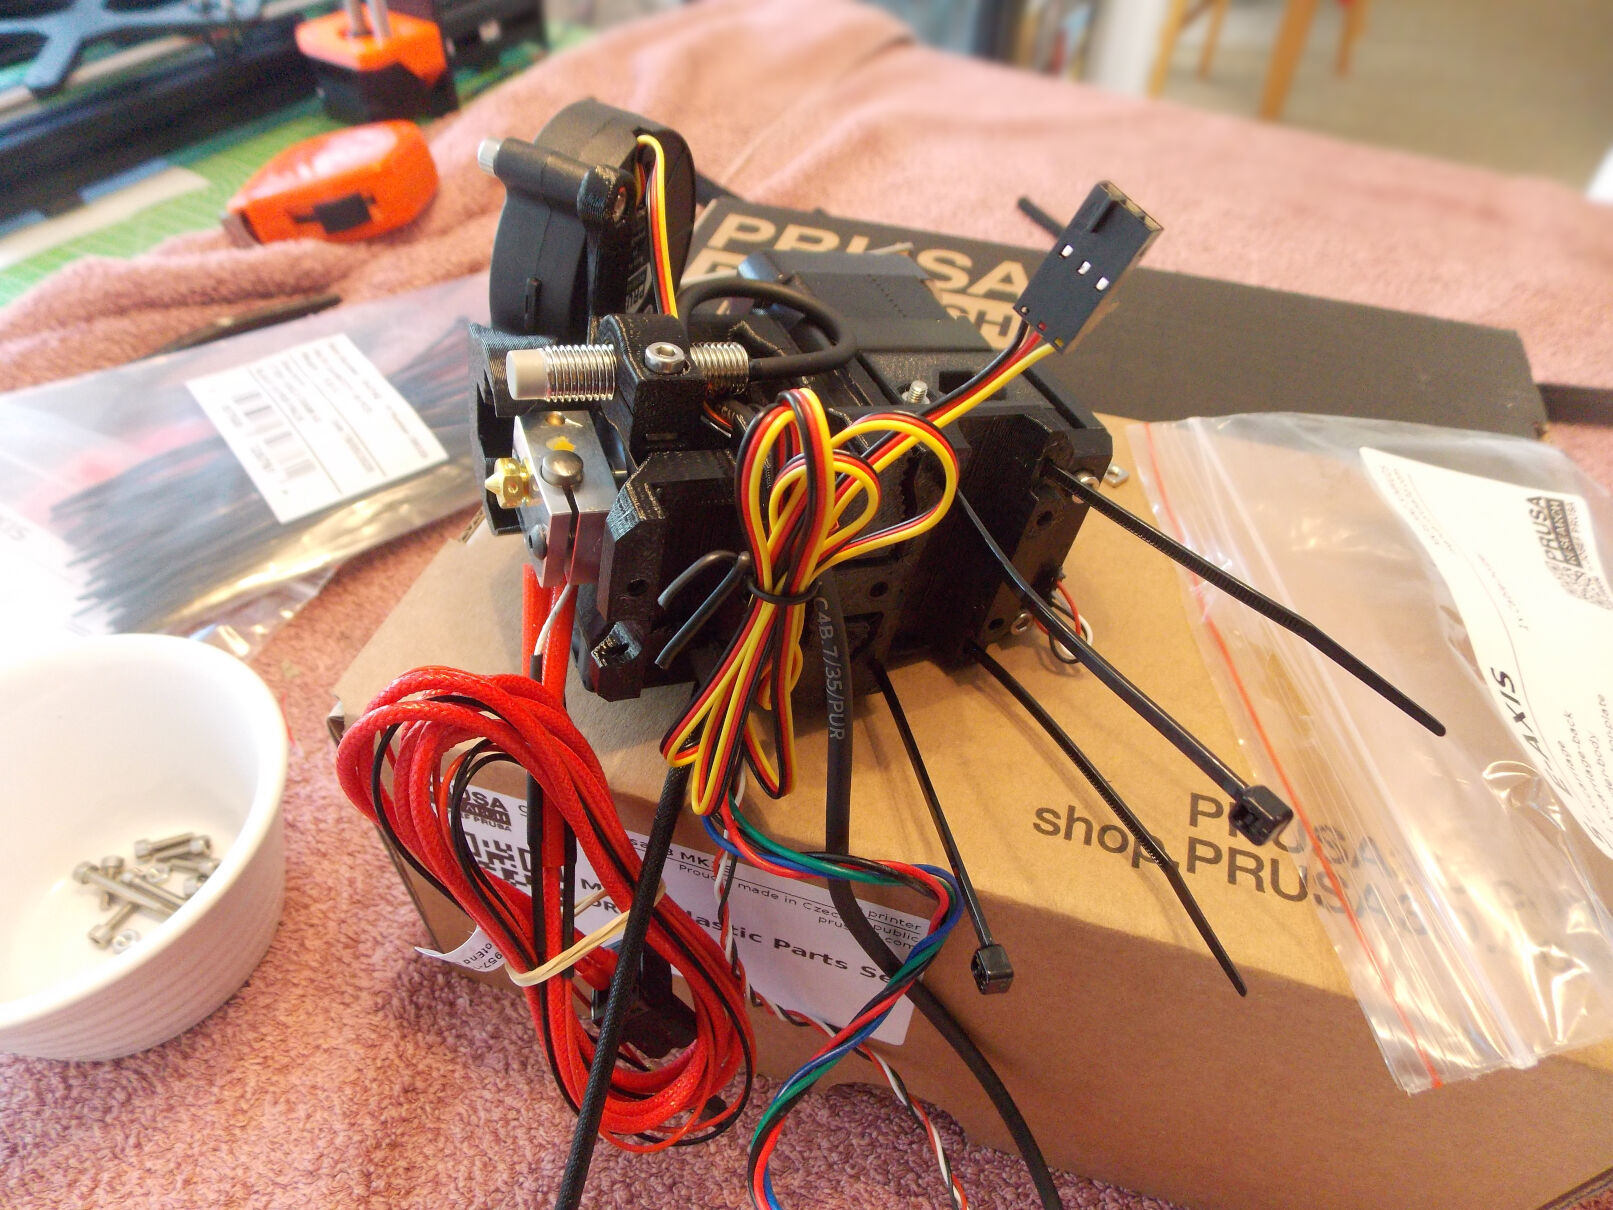
Assembling the extruder took the best part of a day. I took excessive care to heed all of the warnings given in the documentation...


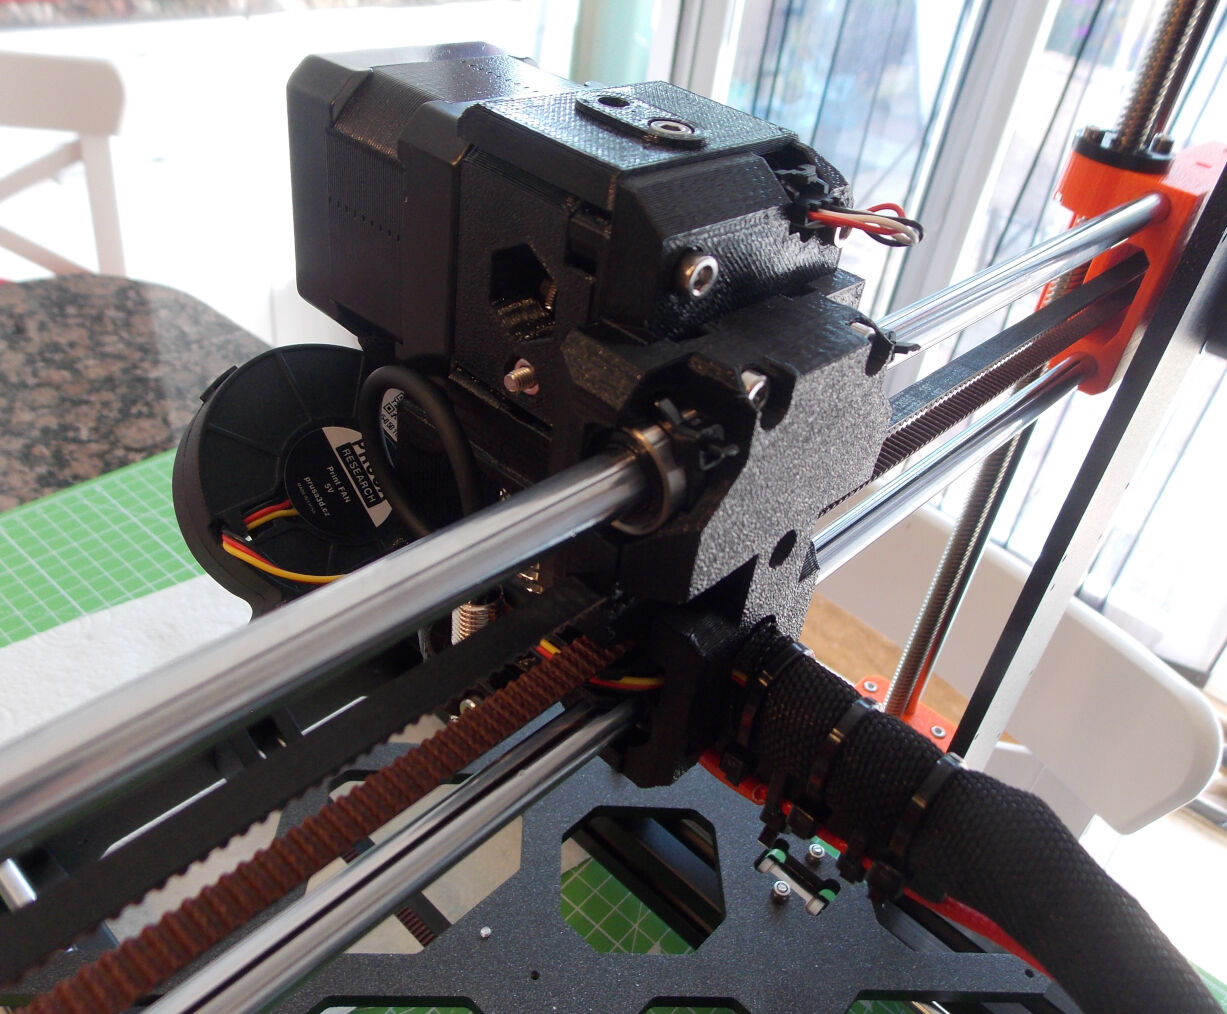
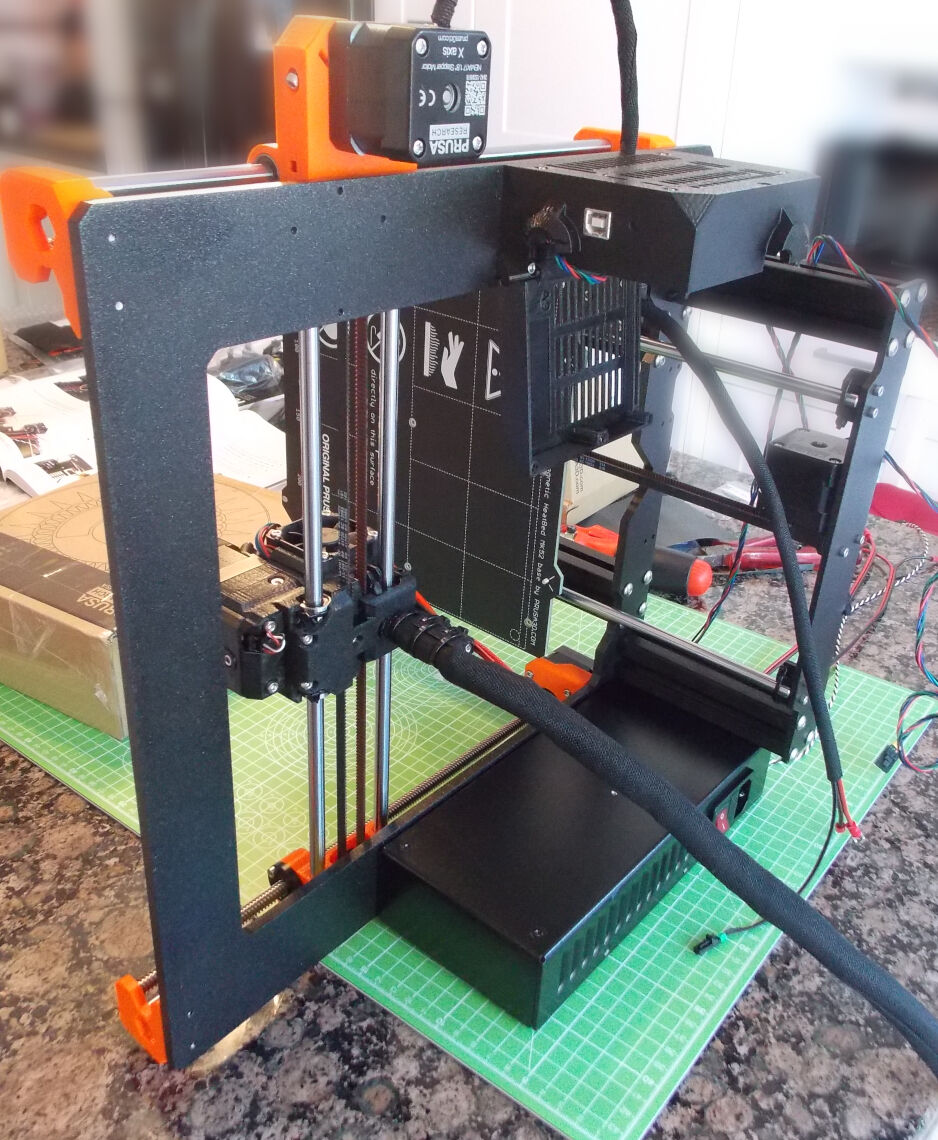
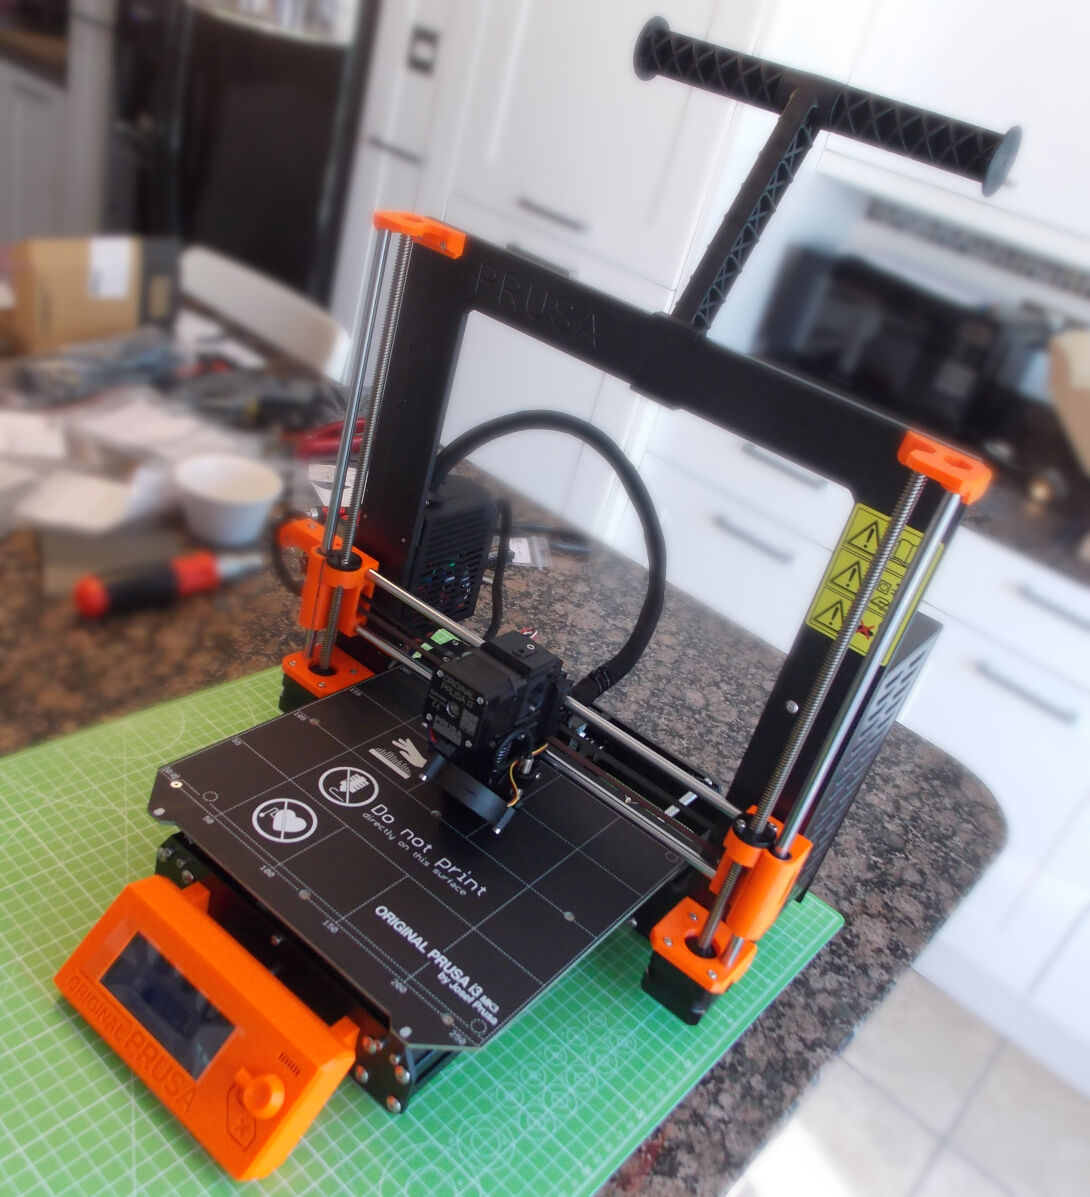
The extruder then had to be mounted, and the various cables inserted into a textile sleeve in order to keep them out of the way during printing:


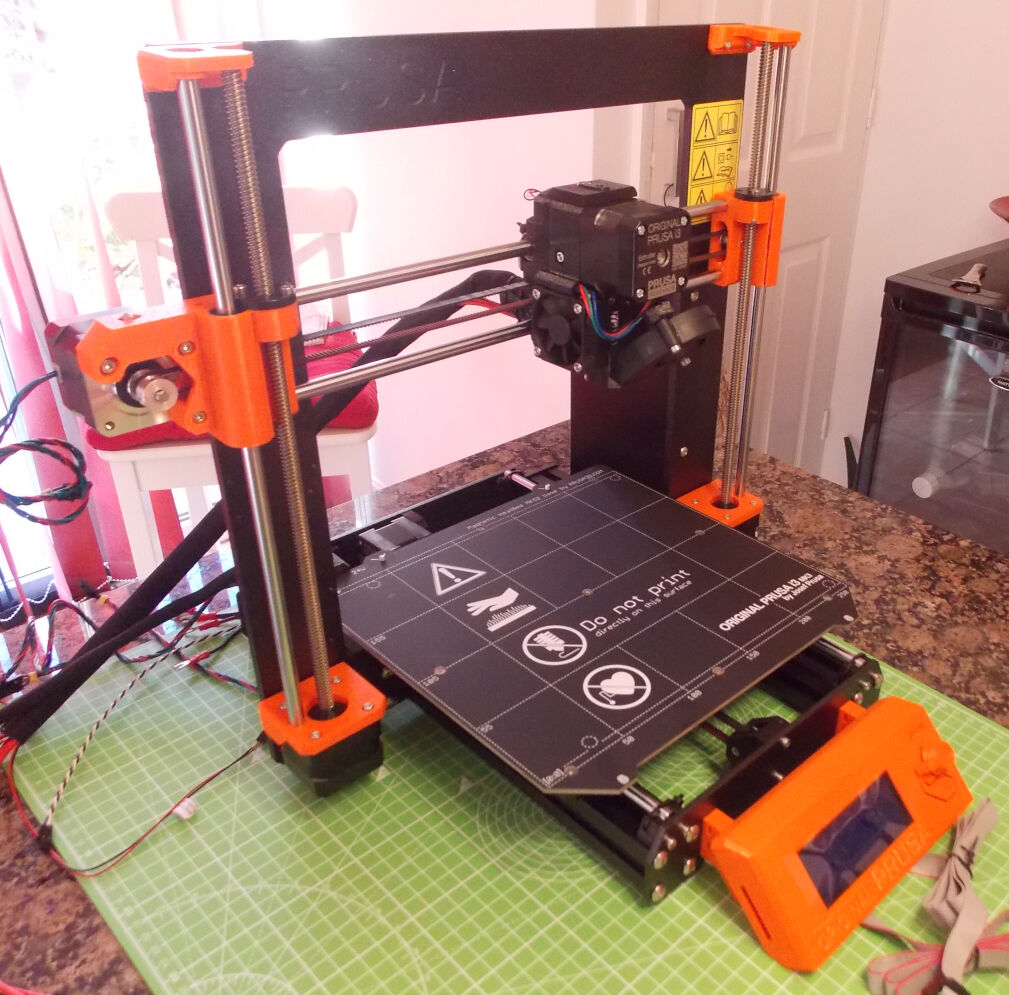
The LCD panel was mounted on the front of the frame:

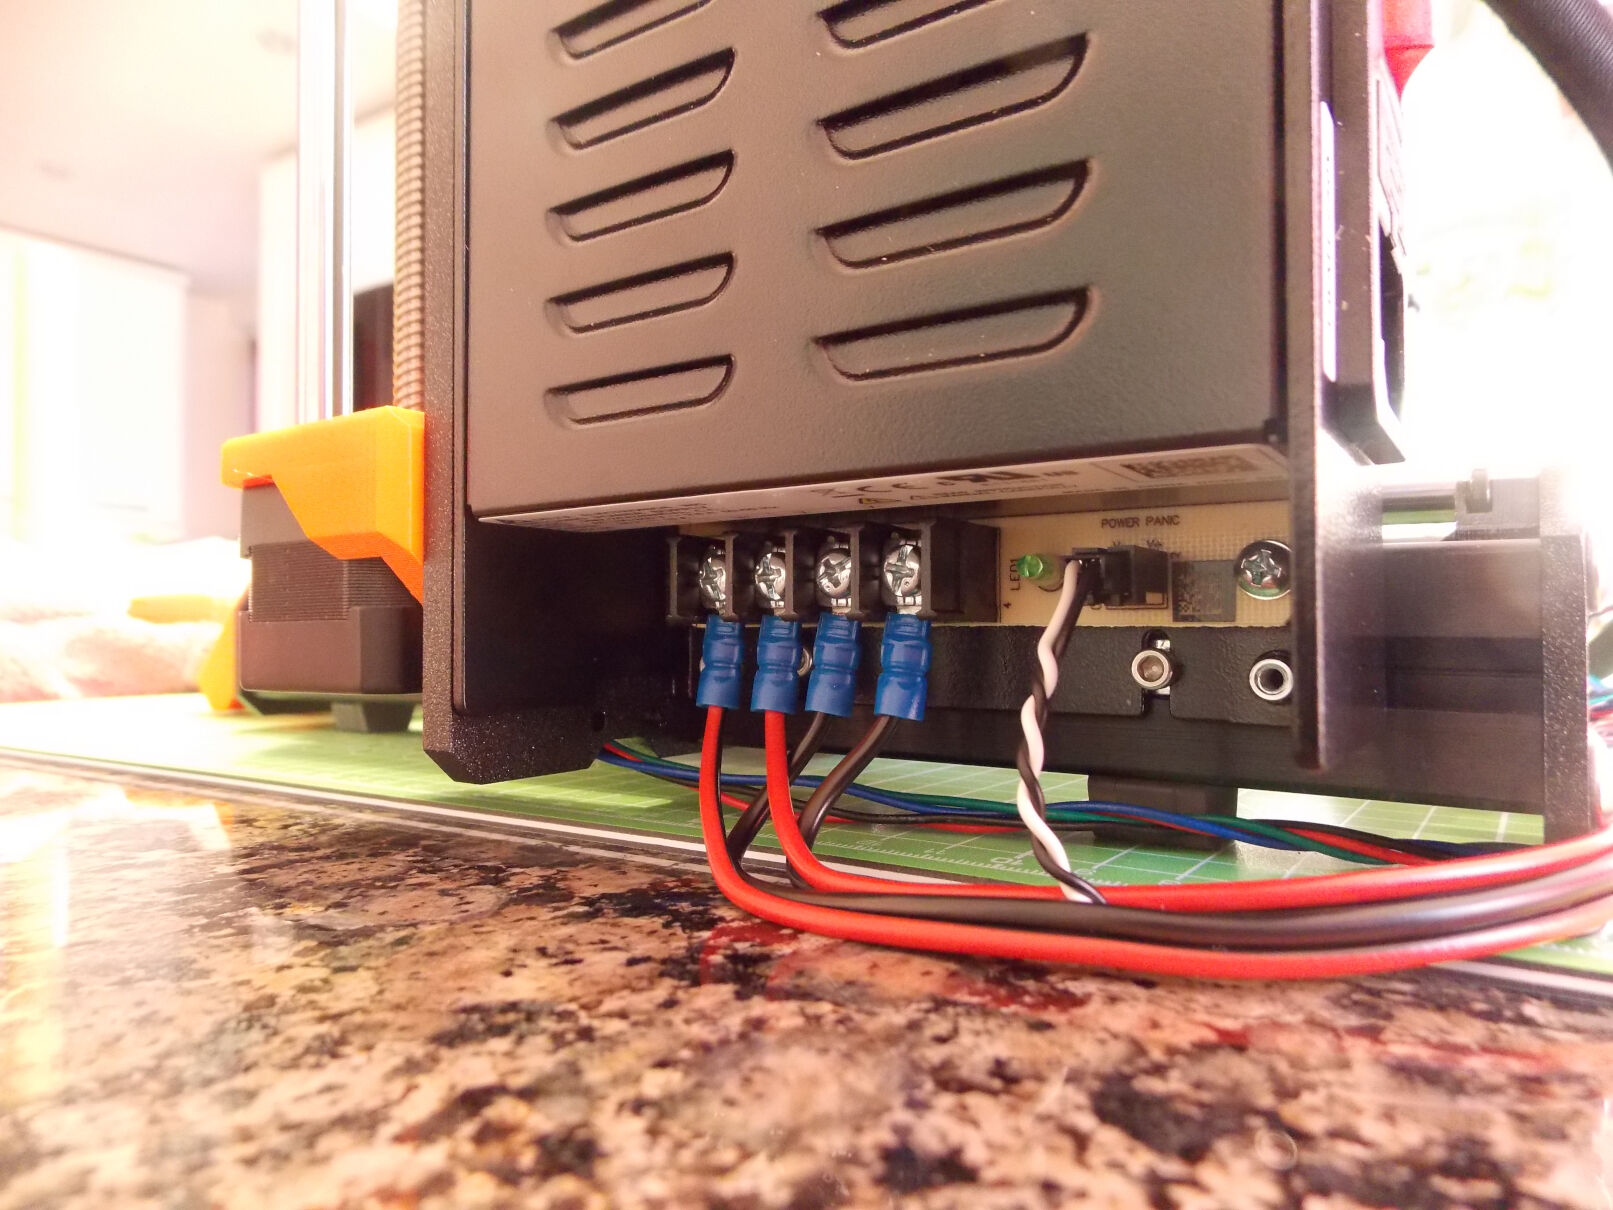
This was then followed by the heatbed and 24v power supply:
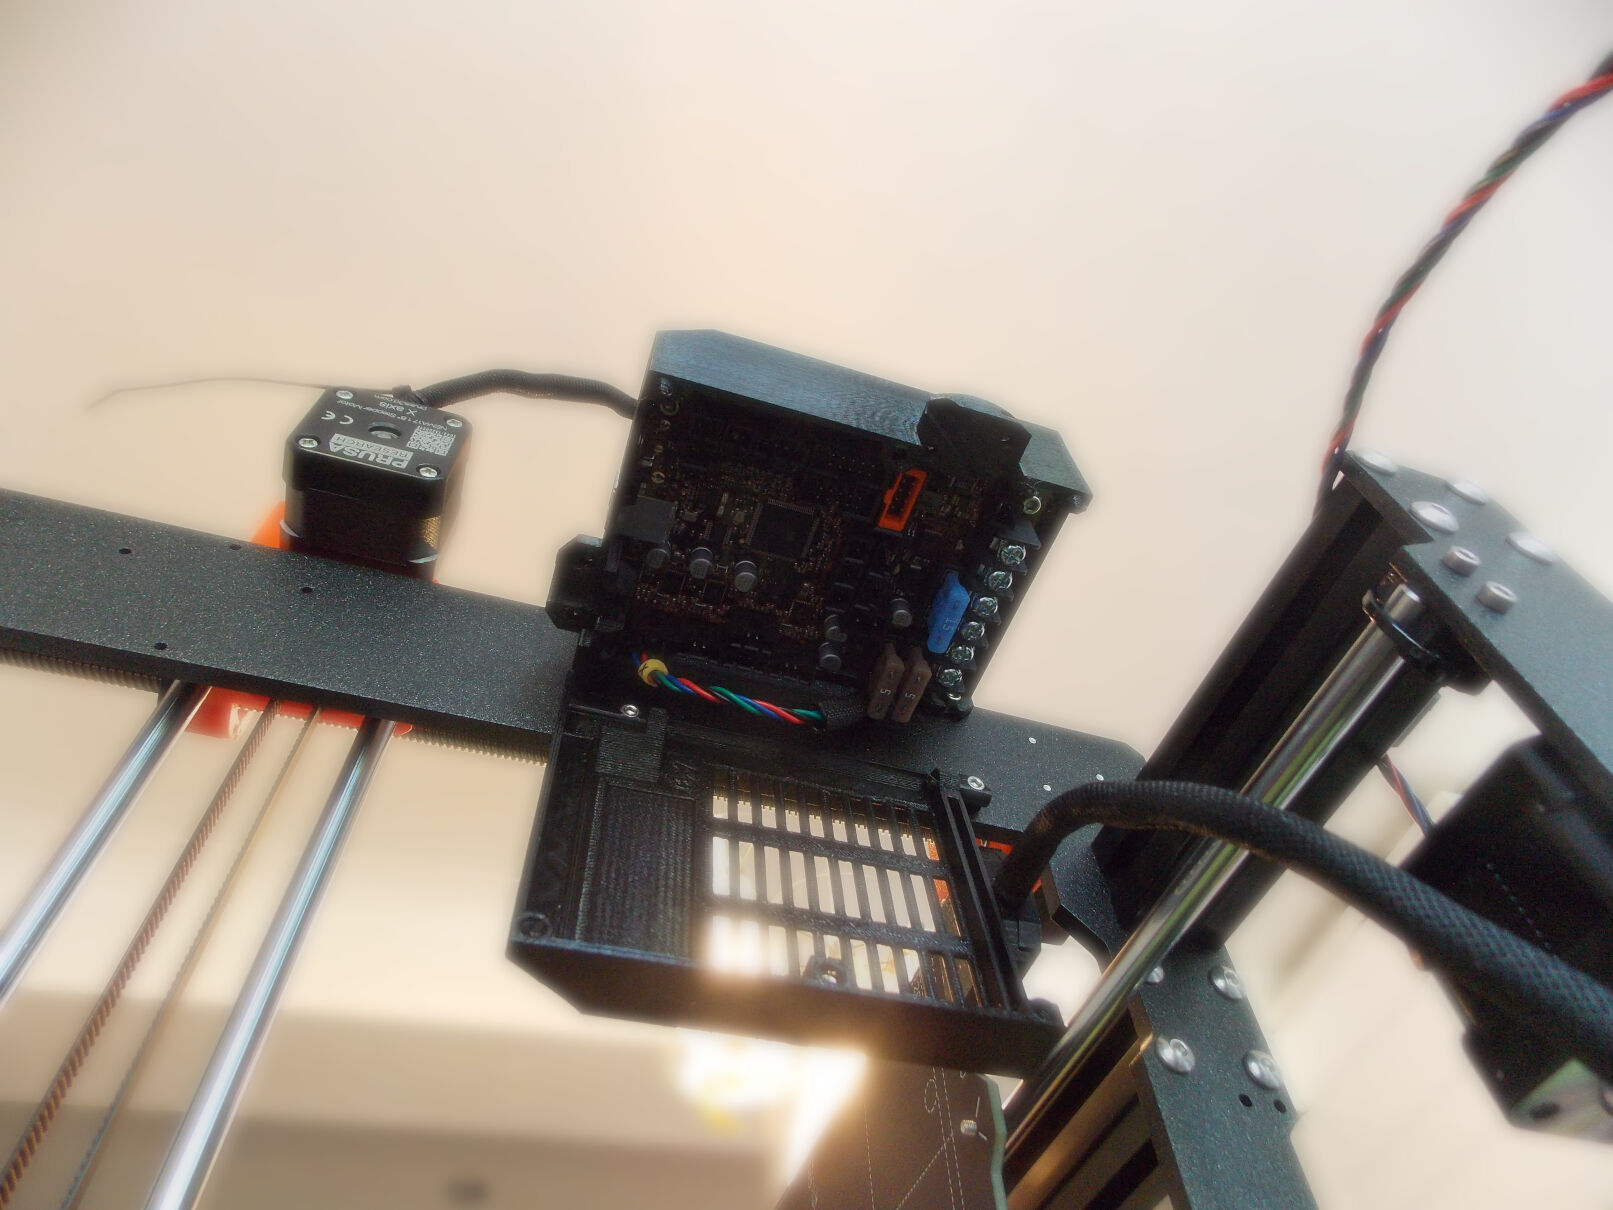
It was then necessary to attach the microcontroller, and attach all of the motors and other cables to it. This was easy enough, and the documentation went into a lot of detail on how to manage the cables in a sane way.

The last step was to attach the filament spool holder.
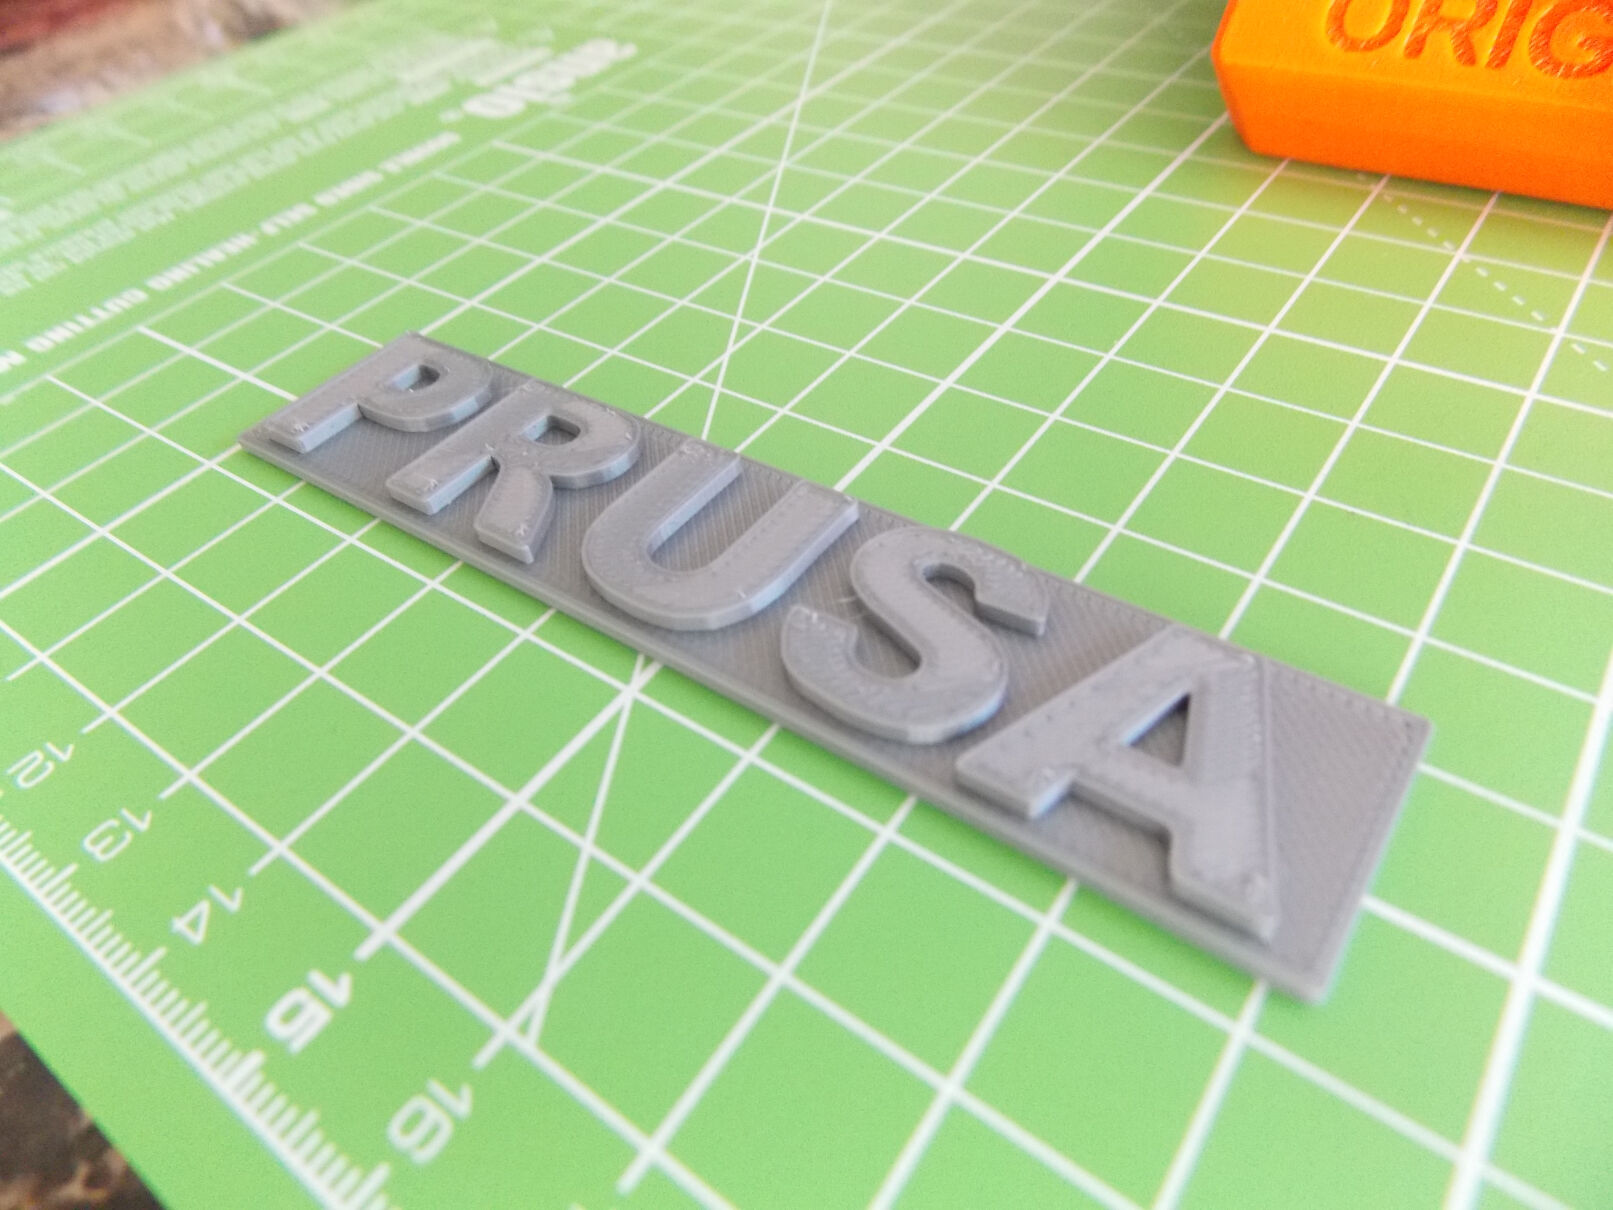
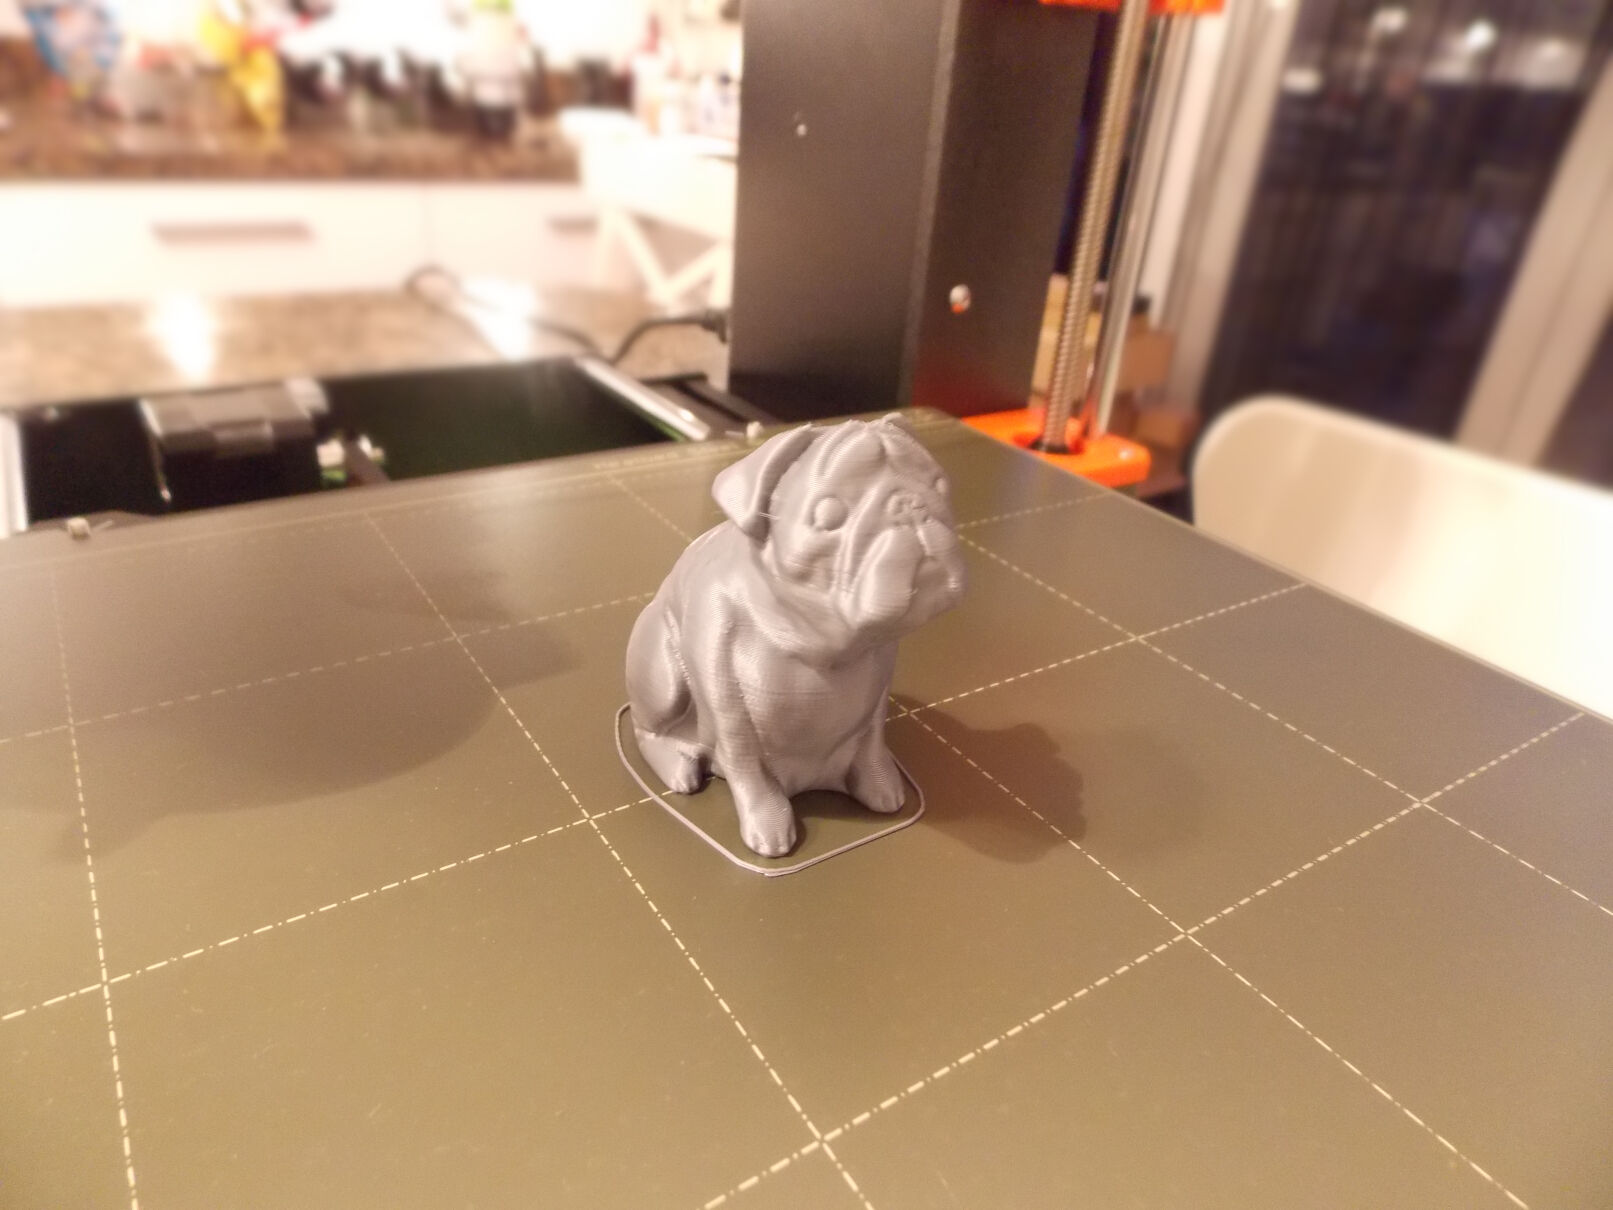
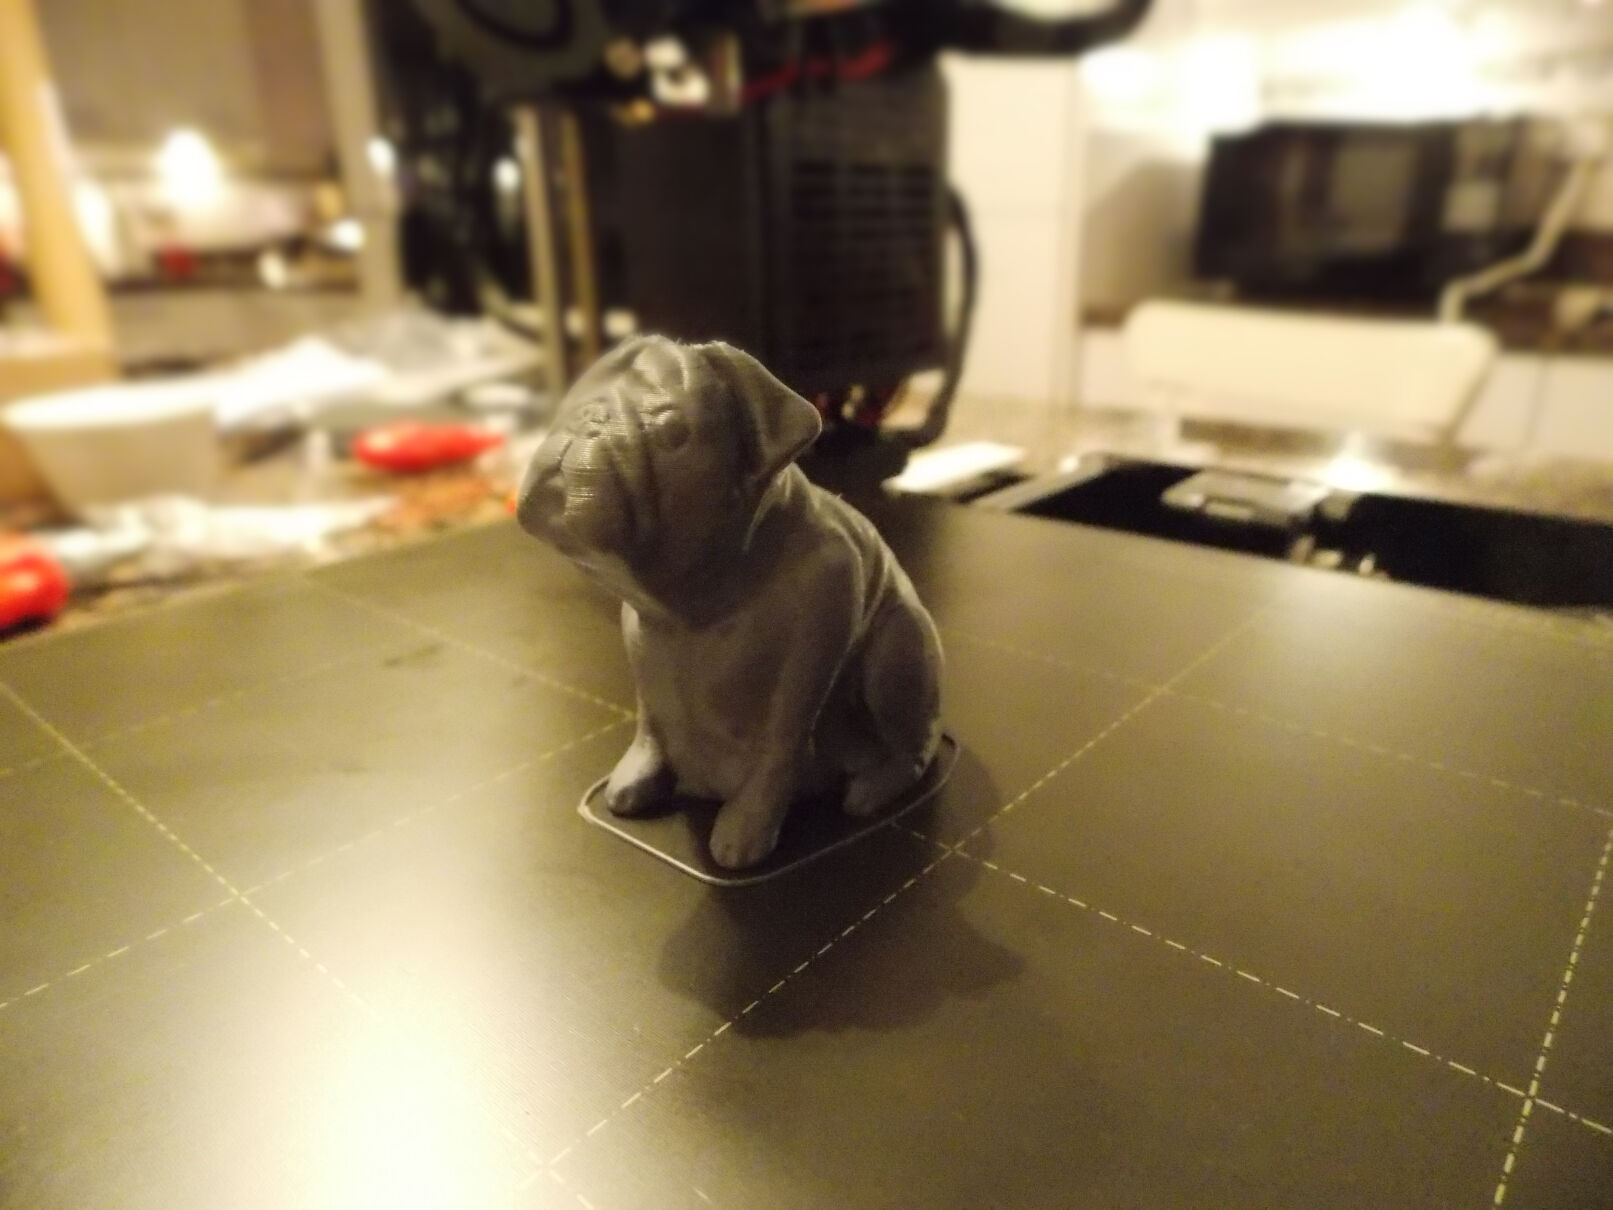
After calibration, the initial PRUSA logo and Pug test print gave good results: